A week ago Saturday, Stan-The-Trim-Man came and framed a few windows for us. Now we need to get them painted.
For 6 years now, I've wanted to frame our Plain Jane windows to match this trim on our front door.

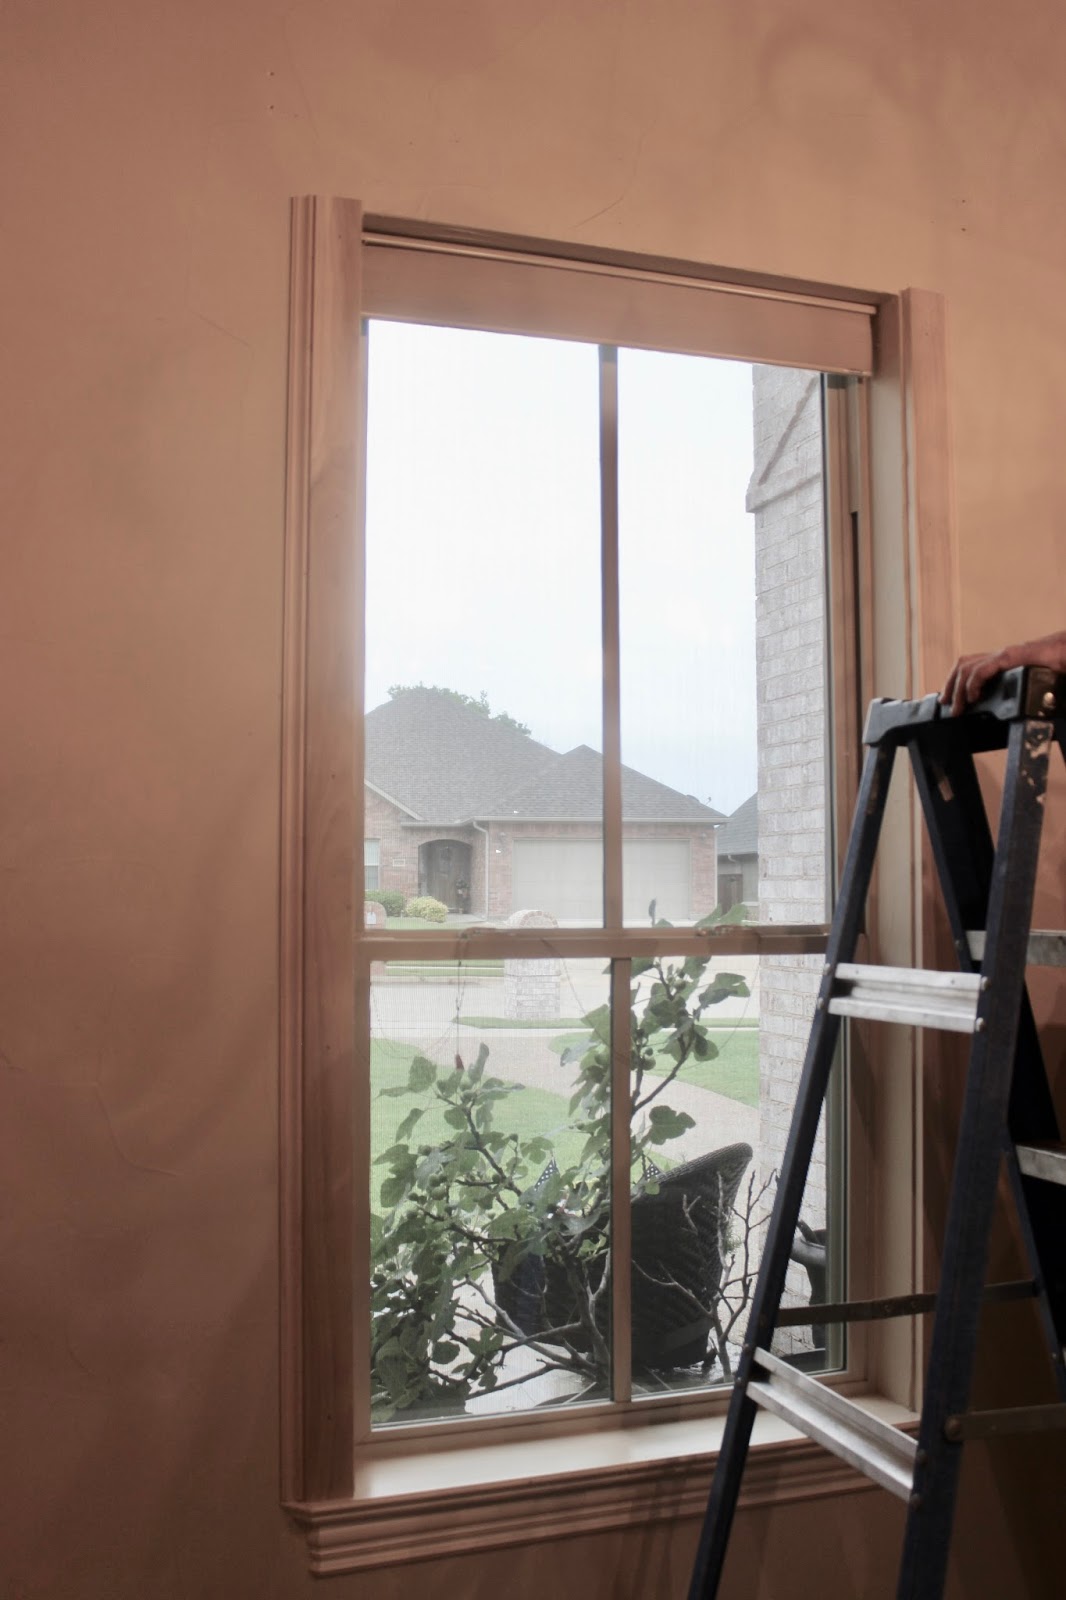
Here's one of the windows that has been bare for so long...

I inadvertently got a snap of a flag while trying to get a full-on picture of the window. I think this is the only "patriotic decor" picture I took of this year's Independence Day decorations!


The other window Stan trimmed last week is on the opposite side of the house in the dining room.

Here's that dining room window close-up. There is an apron on the bottom of all windows in the house, but the rest of the window is plain.

We prefer Levelor insulated shades and regular framing on our windows, so we passed on the Plantation Shutters when we bought the house.
Instead we added insulated shades to all our windows when we moved in and wrote down "window framing" on our wish list. Well...after 6 long years and many other projects, we were finally able to get that started!
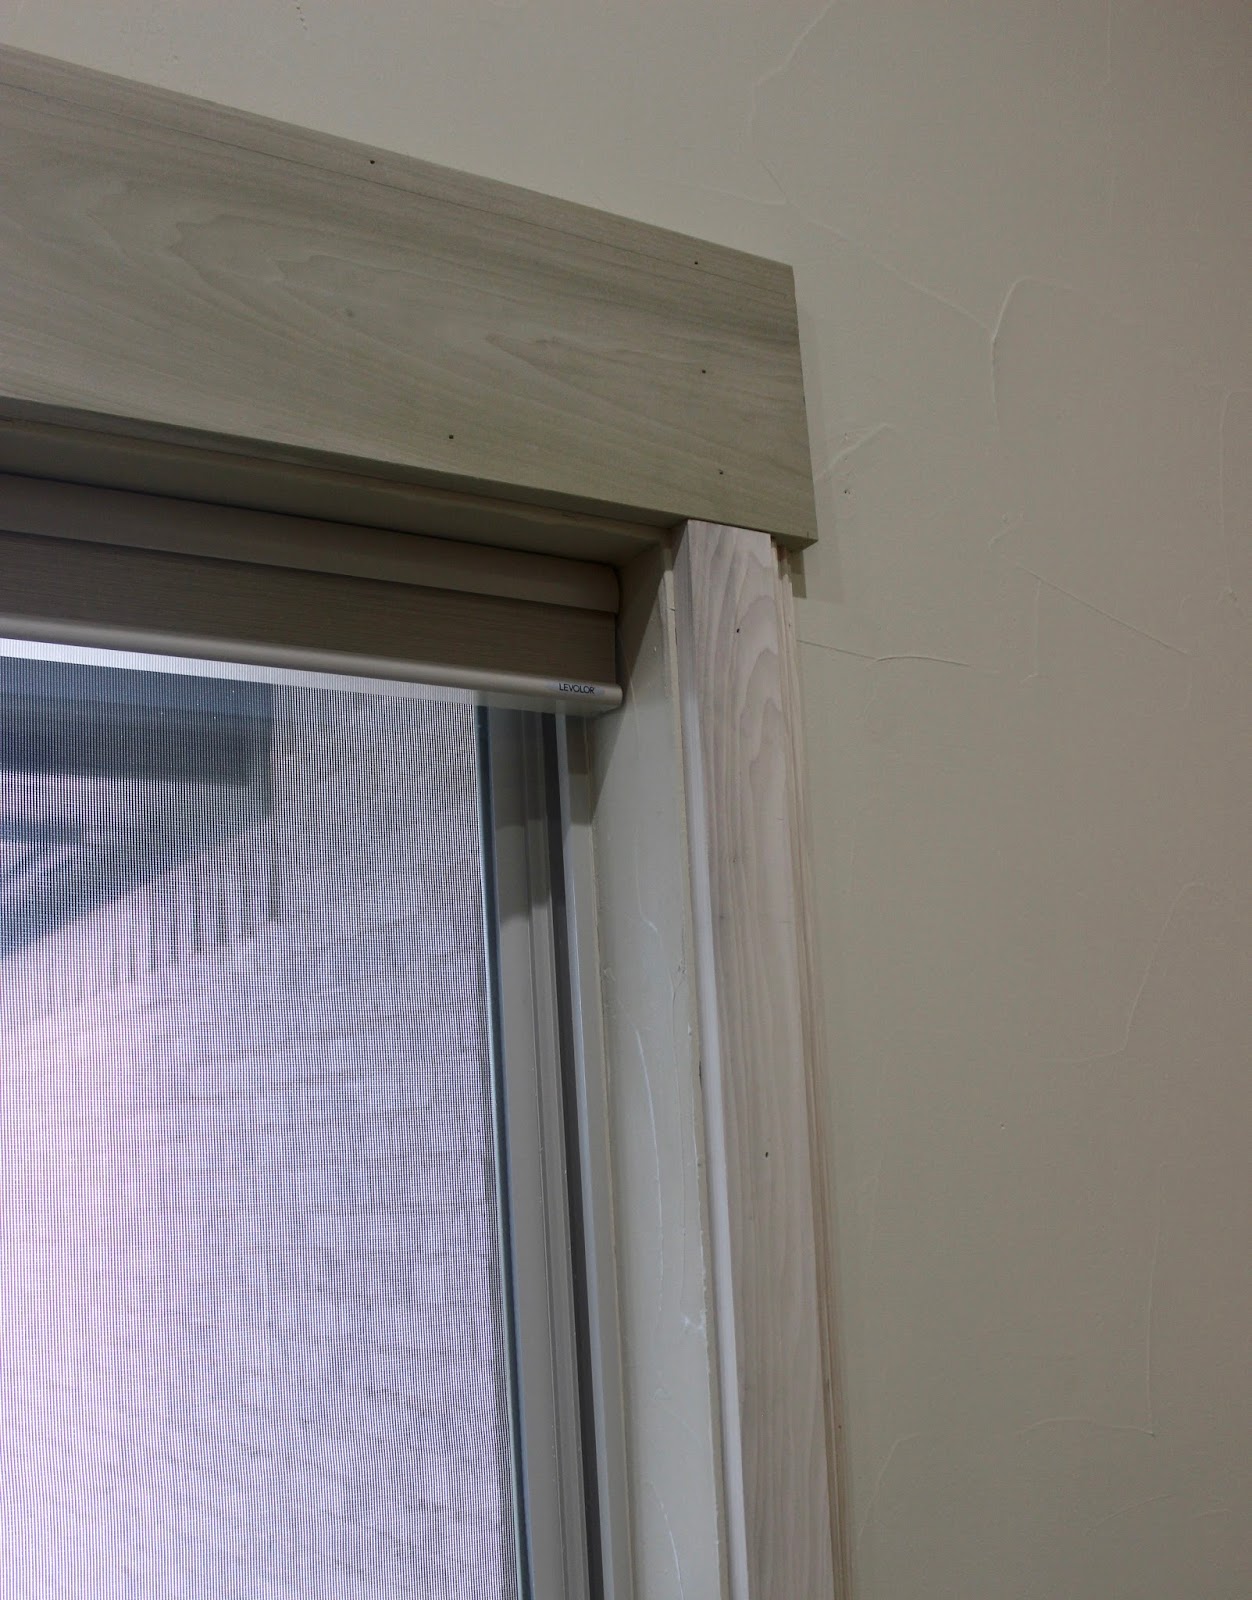
Both windows were framed the same way. To start, a "1 by 4" was installed on each side of the window and trim was added to the outer edge of each board...
On the taller/narrower window (in the picture above) the top board was done with a "1 by 6" board.
The top board on the shorter/wider window (in the picture below) was done with a "1 by 8" board. Why? Because we were trying to make this window look much higher than it was.
Both top boards were cut about 1 inch longer than the measurement of the width of the window and framing.
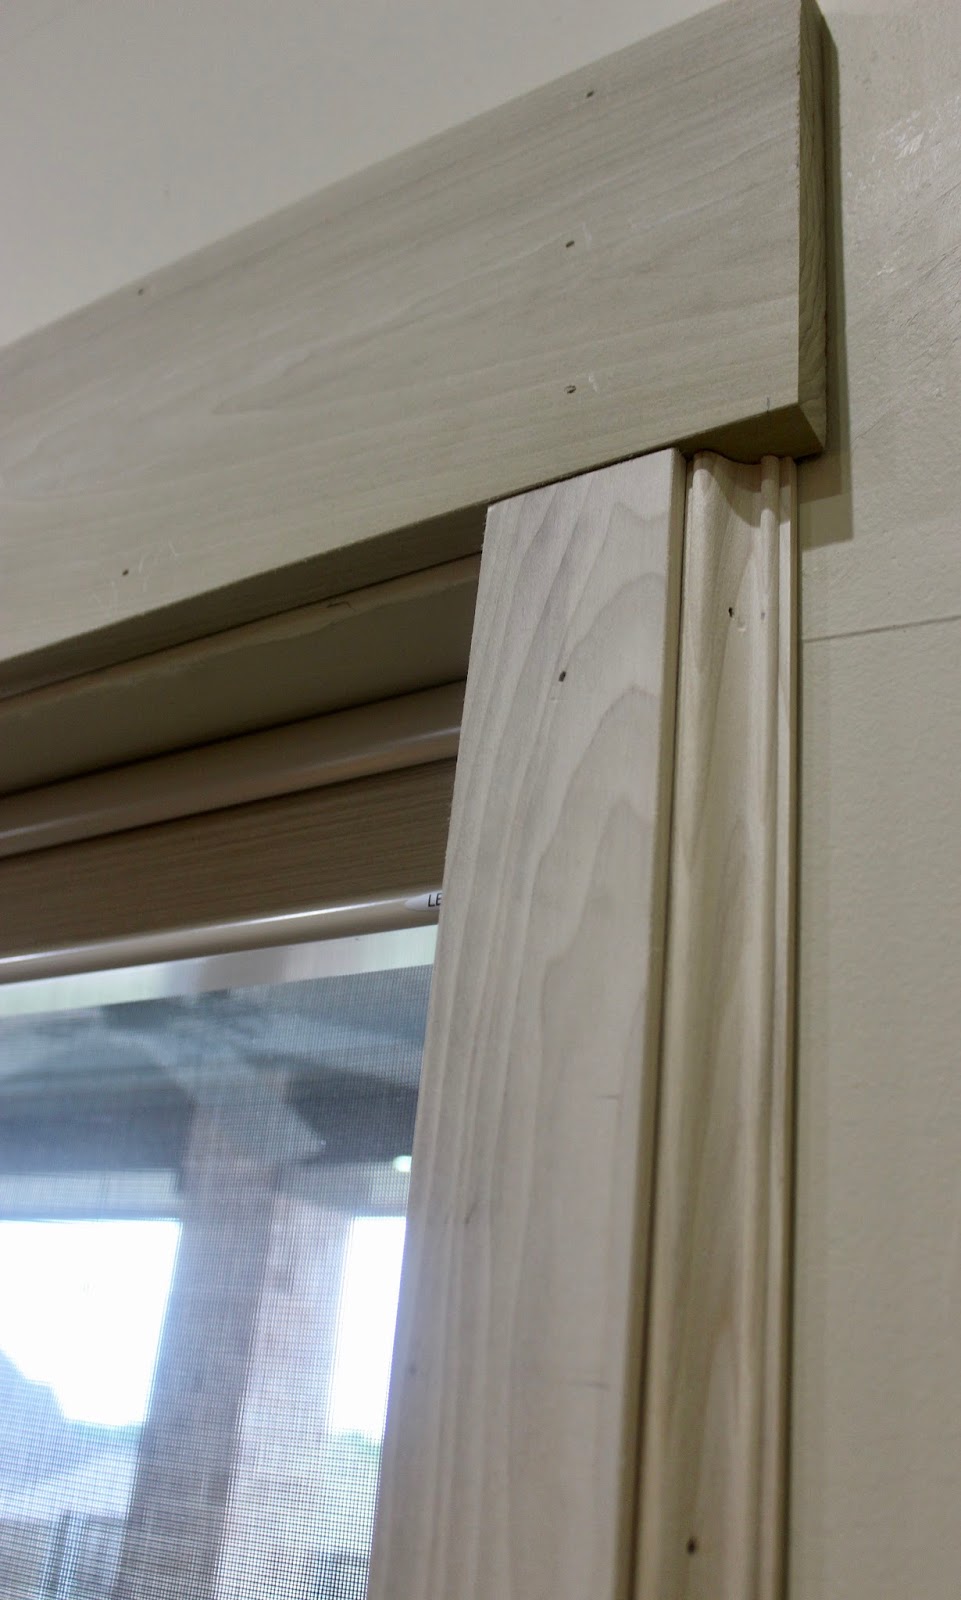
Remember...we were trying to match the front door frame (see first picture for reference) and the board across the top sticks out a little past the side board and trim. By cutting the top board an extra inch longer, it allowed the top board to stick out by about a half inch on each side of the windows.
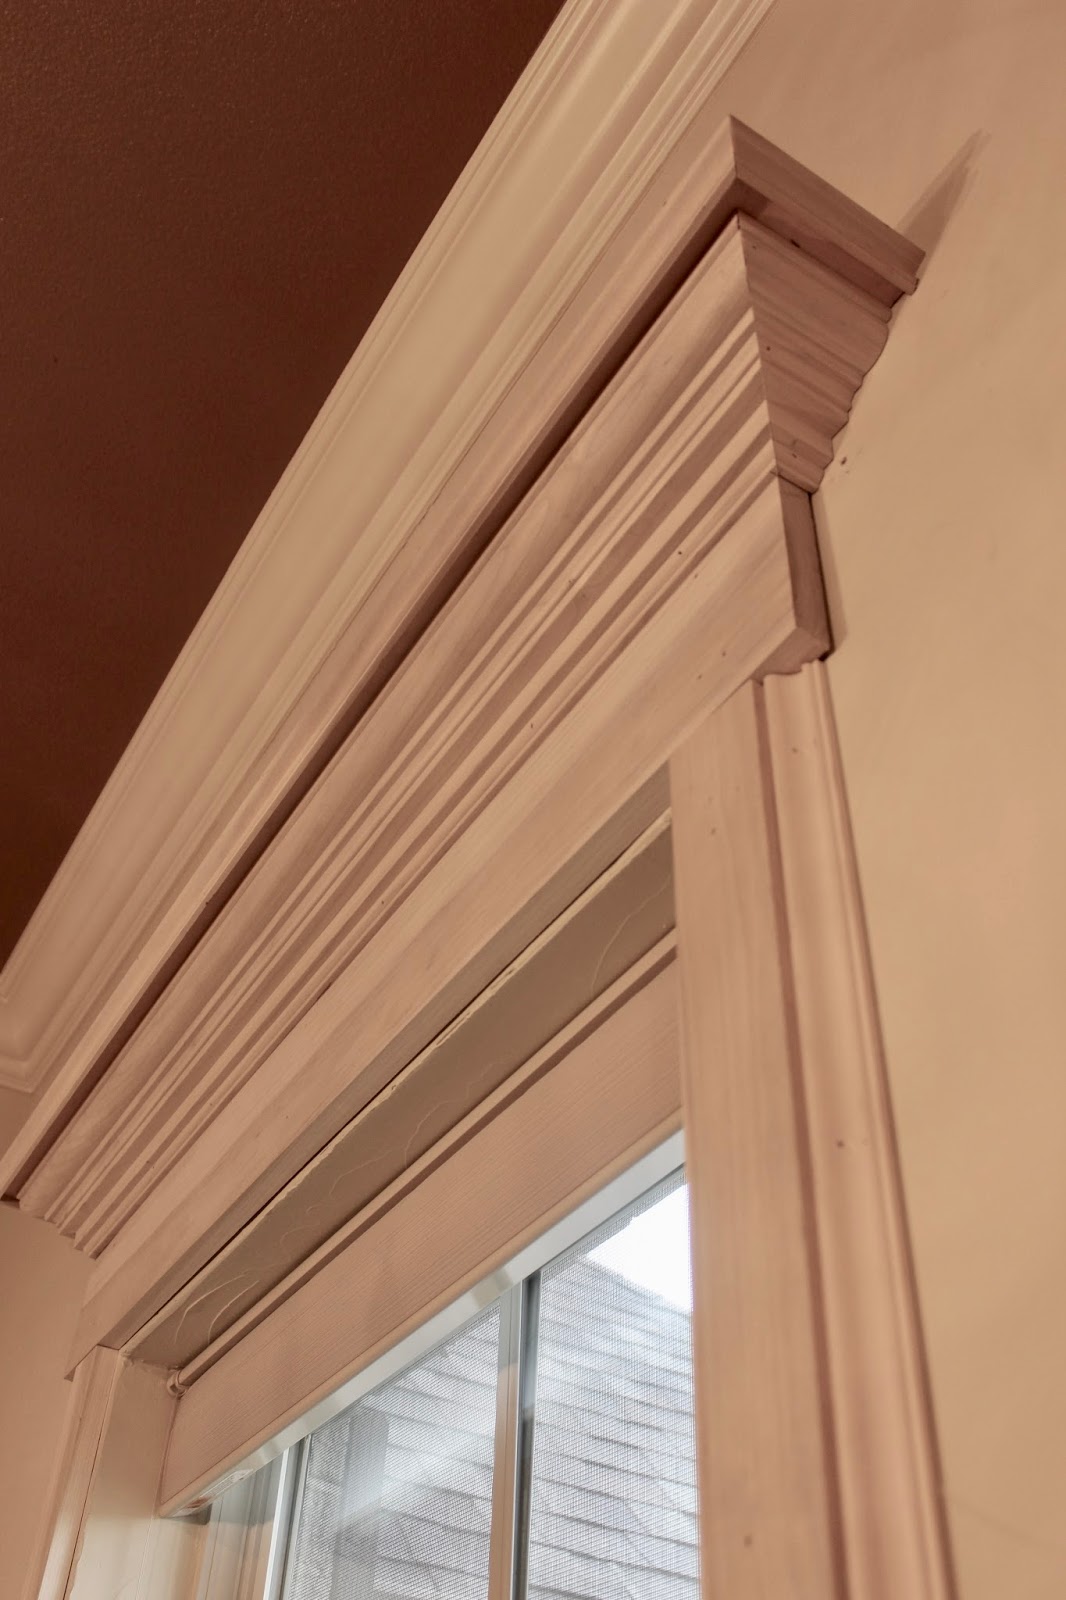
The plywood board forms a shelf on top of the crown molding and, by being a little larger, it adds another layer to the crown molding.
The final step was to add a piece of flat, one-inch molding around the outside of the plywood board as Stan is doing below.

TA-DAH...We Have Window Frames!

We used "Paint Grade" poplar for everything except the veneer core plywood board on the very top that forms the shelf.
Because the 1-inch molding was added to the outside of the plywood, on the three outer sides, the plywood doesn't show at all.

Please forgive my crazy pictures. It was a raining overcast day and hard to take pictures without brightening them up, which plays heck with the colors. I hope to get better ones when the shelves and window are painted and ready for their formal debut.
Thanks for dropping by!
I'm joining the party over at:
Dwellings for Amaze Me Monday
Rustic & Refined Dishing And Digging It
Mrs Olson's Share Your Cup
The Charm of Home's Home Sweet Home party.


.png)


Beautiful! Thanks for sharing at Home Sweet Home!
ReplyDeleteReally looks good, I like wood trim on windows and doors.
ReplyDeleteThat looks wonderful!! I'll be pinning this one for sure! Thank you for sharing!
ReplyDeleteI love trim, it makes every room look better. This is spectacular and adds so much richness to the windows. Super idea!
ReplyDeleteI love the windows! It totally changes them and gives them a real rich and polished look!
ReplyDeleteI imagine that it was well worth the wait to see it all done. Looking good.
ReplyDeleteDiana
The window looks great doesn't it, amazing what a difference some trim can make!
DeleteWhat an amazing difference the trim makes. It looks wonderful.
ReplyDeleteOh wow! The difference is amazing! I never thought of a trim man. I think he did a terrific job. Congratulations!
ReplyDeleteHugs to you.
Be blessed!
Laura of Harvest Lane Cottage
Oh how exciting! I love all the trim and envy your front door. My little home is pretty trimless.
ReplyDeleteWhat a difference. Sure looks nice.
ReplyDeleteBoy, did it ever dress them up. Love the results!! Thanks for sharing with SYC.
ReplyDeletehugs,
Jann
So nice!!!
ReplyDeleteBlessings,
Cindy
They are gorgeous! Trim is just so amazing!! I still love those floors of yours! Have a lovely week! Toodles, Kathryn @TheDedicatedHouse
ReplyDelete