Sunday, June 18, 2017

Why Does It Take So Long?


We have several projects we've been trying to do around the place that depend on companies to get them done...a built-in cabinet, a walkway around the sides and back of the house, painting walls, electrical work.

I'm not sure if it's because the projects are small, but it seems incredibly hard these days to get work done. A lot of you are having the same problem too! I've been reading about your frustration, so I know it's not just where we live.


Here's how it seems to work in Texas: The company signs a contact agreement, you pay them 1/2 down and the other 1/2 when the project is completed. 

In the case of the cabinet, we want it to block off this arched opening between our dining room and entryway.


Back in early March, we first met with a cabinet company to have a built-in cabinet created and installed. We gave them a check (as a deposit) for half the total cost, and we were told 3 weeks to get it done. 

When I was still excited, I wrote about it HERE on April 17th, around the time the cabinet was to be installed.


We've waited, and waited, and waited some more. Finally last Wednesday, at the end of that particular rope, we marched into the shop expecting another runaround. We planned to cancel the project so it really didn't matter anymore.  


We are so used to being put off, that I was floored when they said they had loaded the pieces of the cabinet into a trailer the day before and "...would Monday at 8 a.m. be good for us?" They even took us out to the trailer to see the pieces of the cabinet ready to be installed.

My question is, what's going on? Where are all the companies that know how to schedule their work and run their crews? If you have any insight please share it with us. 

And won't you cross your fingers for us? That 3 weeks has been some very long months, but tomorrow might just be the day our cabinet gets installed!


Thanks for dropping by!


Friday, June 16, 2017

Garden Help Needed


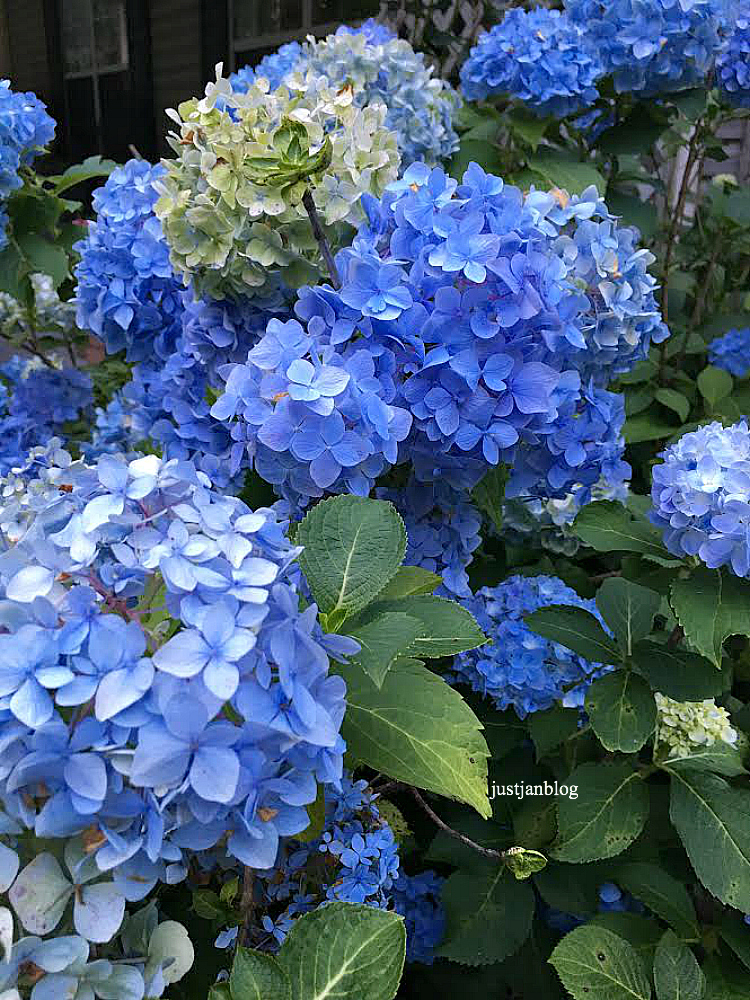
I've been obsessed with other people's gardens lately. I love to look at their beautiful hydrangeas. Most hydrangeas I see on other blogs are so beautifully blue or darkly pink, I can't take my eyes off their plants!

Maybe that's why my poor hydrangea plant seems so sad. The flowers on the plant when I bought it were so dark blue, almost purple. I fell for it instantly.
Now they seem to be really a washed out and greenish blue. 

Can anyone tell me exactly what I need to do to turn them blue or pink?

I got quite a few suggestions on other things, but no direct information on correcting the color.

Diana of Nana Diana Takes A Break left a comment that the acid level was wrong when the color fades...uh, Di, I need more info than that! 

Lisa, of Pink Tee Shirt, commented that hydrangeas are water hogs and to give them a shot of coffee grounds now and then...I tend to over water my plants anyway, so this gave me the confidence to let that hose rip! 

Truthfully, once in a while I forget to water my plants a day too long...so no more of that either.
Jann, at Have A Cup Of Mrs. Olson, said to cut the spent flowers to keep them producing. As you can see in the photo above, I cut the plant back to just three of the best flowers. After I took the picture, I cut off that ugly tag too!

Art And Sand out in California said she finds the best plants at Trader Joe's, and she agreed with Lisa that lots of watering is the key! I bought my plant at Costco for $19.99 the day they got them in. They were lovely when I bought them, but I will be stopping by Trader Joe's when I'm near there today.

Probably the most money-saving comment I got was left by Amalia from Handmade By Amalia. Amalia seemed to insinuate that I need to avoid them when she said garden centers were a grown woman's candy shop! Uh...you got that right Amalia!

Sharing today at Foodie Friday And Everything Else. Hope you'll stop by and join the party. 


Thanks for dropping by!


Tuesday, June 13, 2017

A New Garden Party


We bought some plants today to try to revive our pots in the front yard. Luckily, I didn't see Everyday Living's new garden party, Garden's Galore, before I went to the garden center. 
Had I seen the new garden party before I went, I probably would have spent a lot more money at the garden center! You can check out the party Here.
Just Jan Blog shared this photo of her fabulous blue hydrangeas. 

Drats! I bought a plant with blue hydrangeas like this about a month ago, and now they are faded and very pale.  I'm doing something wrong, no doubt.  

I'll be checking out Jan's post to see if she has advice for us wannabe gardeners. 
Have A Daily Cup Of Mrs. Olson's inspiring post was about the garden gates she saw while on vacation in Carmel California. It was love at first sight for me! You can see Mrs. Olson's photos and post HERE.

Here's some photos of our pots last year. I bought four new potato vines at the nursery today because last year's vines were so pretty. It seemed no matter how hot our Texas sun got, these vines just got bigger and better!
 And it seemed that every time I cut back this ornamental cabbage, it grew back better than ever. 
I hope you'll pop over to the garden party and add your pretty garden to the mix. Gardens Galore Link Up Party.


Thanks for dropping by!


Sunday, June 11, 2017

Mattie's Pig Table Gets Another Make-Over


Just got home very early this morning from a long trip to California. Most of the time I spent there was without internet, so I used the time to look at old photos stored on my computer. 

Here's an old one of our entryway, which hasn't changed much over the years.
I did have my I-Phone with me, but trying to read blogs and websites on it made me realize my eyes are too old for that! 
While I've been gone, I've missed painting my furniture...and repainting it...and "de-painting" it with a sander when needed. 

Being away from home seems to have revitalized my DIY bone. I'm even excited about finally picking a color and painting some walls!
After 6 years, I'm really tired of our greenish-yellow walls. We're going brownish-grey-beige to get rid of the yellow.
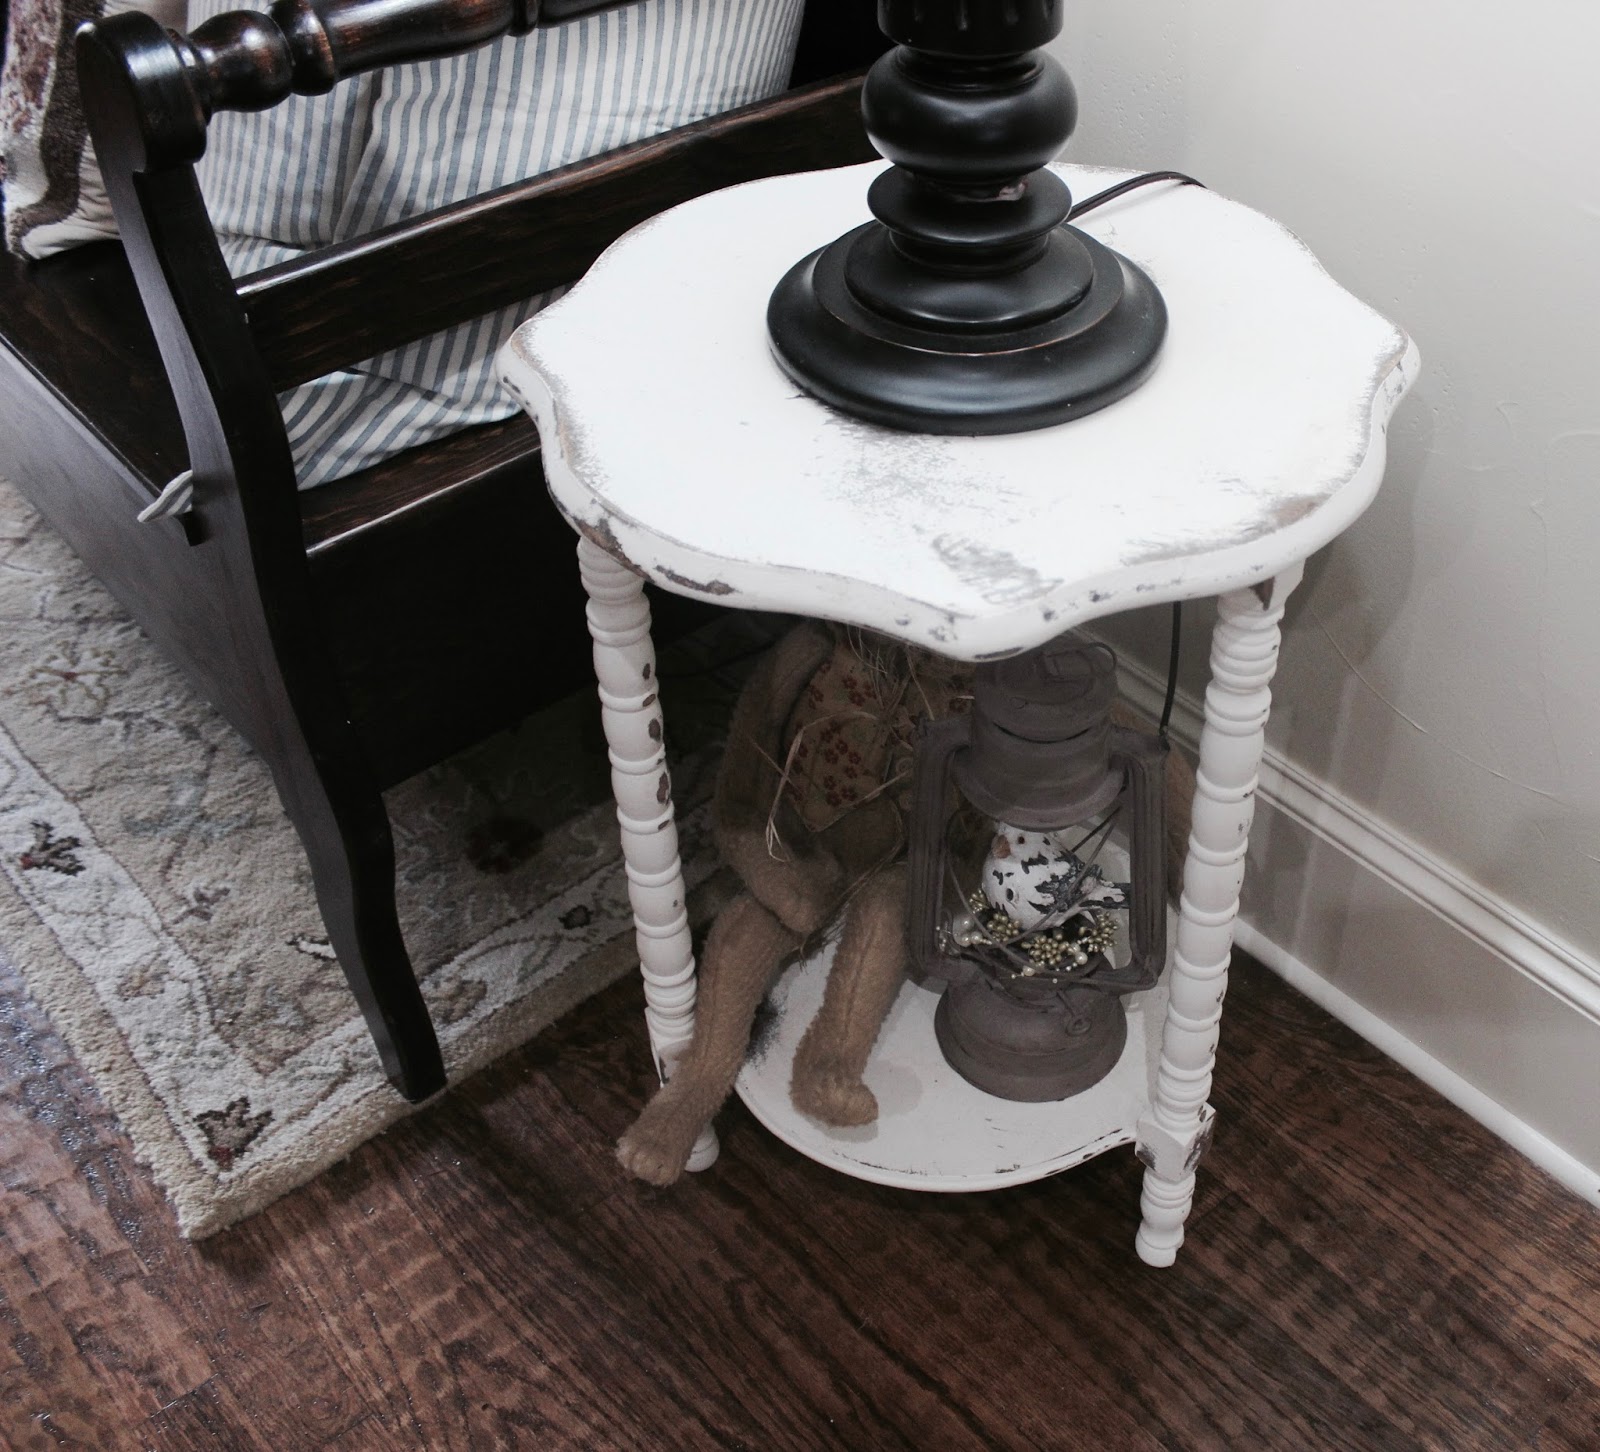
After looking at the pig design I put on the top of this table when I did a makeover in 2013, I recently decided to shabby it up a little. 
Because it's slim and fragile, I thought the pure white made it seem a little too sweet.
With just a little hit of the sander, the painted pig was gone... depainted! 

I was going to paint it white again and age it down with dark wax, but the heavy distressing spoke to me so I left it that way for now.
I'm going to live with it for a while and see what it wants to do next.

Wild Bill's maternal grandfather, Will Savage, traded a little pig for this side table for his newlywed bride, Mattie, not long after they married in April 1912. 

When I first painted the table, I wrote about how the young Will bartered with a neighbor for the table HERE.  We found the little table, in many pieces, in the attic of Wild Bill's parents when we were helping them move in 2005. 
Wild Bill put it back together and strengthened it a little. The little table was in pretty bad shape so I didn't feel bad about painting it back then. 

For now it's in the hallway holding a lamp. It may end up in the powder room after that room gets painted since it's the most girly room in the house. 
The hall bench will probably be my next victim. I plan to make it higher by making a rolling shelf for it to sit on (that will hold shoes) and then make it softer with a cushion for the seat. 
I love furniture painted white because it makes everything more flexible. With white furniture, everything can move from one room to the next easily. 


Thanks for dropping by!


Join Me At The Party Here:
Amaze Me Monday


Friday, May 26, 2017

Red Lantern Makeover


In my last post, I said I planned to paint the red vintage lantern that was in that post. 

So, here it is...Not finished, but in progress.
I painted it with One-Step Paint in Kembel since I already had that paint color out when I painted the spotted chicken HERE. 
After the paint dried, I used a waxing brush and an old rag to add Annie Sloan's clear and dark wax to age it down. 
I'm letting that dry, then I'll add a little more dark wax. I would've kept going in one setting, but more dark wax was coming off then going on. 

By letting it dry the wax will set and I'll be able to add more dark wax without rubbing off what's already there.
I liked the original red color of the lantern, but because it was red, I usually had it stored away except for the Christmas holiday season. 
It seemed the red only looked good in the house with the red and green decorations of Christmas. 
And, since we're still on a decluttering/downsizing kick, I have vowed to either "use it" or "lose it" with as much stuff as I possibly can. No more storing things away if I can find a way to keep them out all year.

If you're not familiar with waxing, using clear wax makes it easier to put the dark wax on without it globbing up. If too much dark wax builds up, just use some clear wax to remove as much as you need to remove.  

Well, that's where I'm at right now, but I'm putting the waxing on hold for a little while. I'm flying out to California to help my mother move. 

I grew up in the wine country in a little town called Sonoma on the other side of the hill from Napa. Most people are more familiar with Napa than Sonoma, but I think they're missing out.

Sonoma is so much prettier than Napa, and as the saying goes in our home town: "Sonoma Makes Wine, Napa Makes Auto Parts."


Thanks for dropping by!


Monday, May 22, 2017

Vintage Oil Lanterns


If having three makes a collection, then I guess I have a collection of these vintage oil lanterns. I've heard them referred to as Railroad Lanterns. Here's the three I have:

A copper colored one...
 A red one...
And one that I painted black a couple of years ago...

I used Amy Howard's One-Step Paint in black to paint this lantern black years ago. It has held up well over the years.

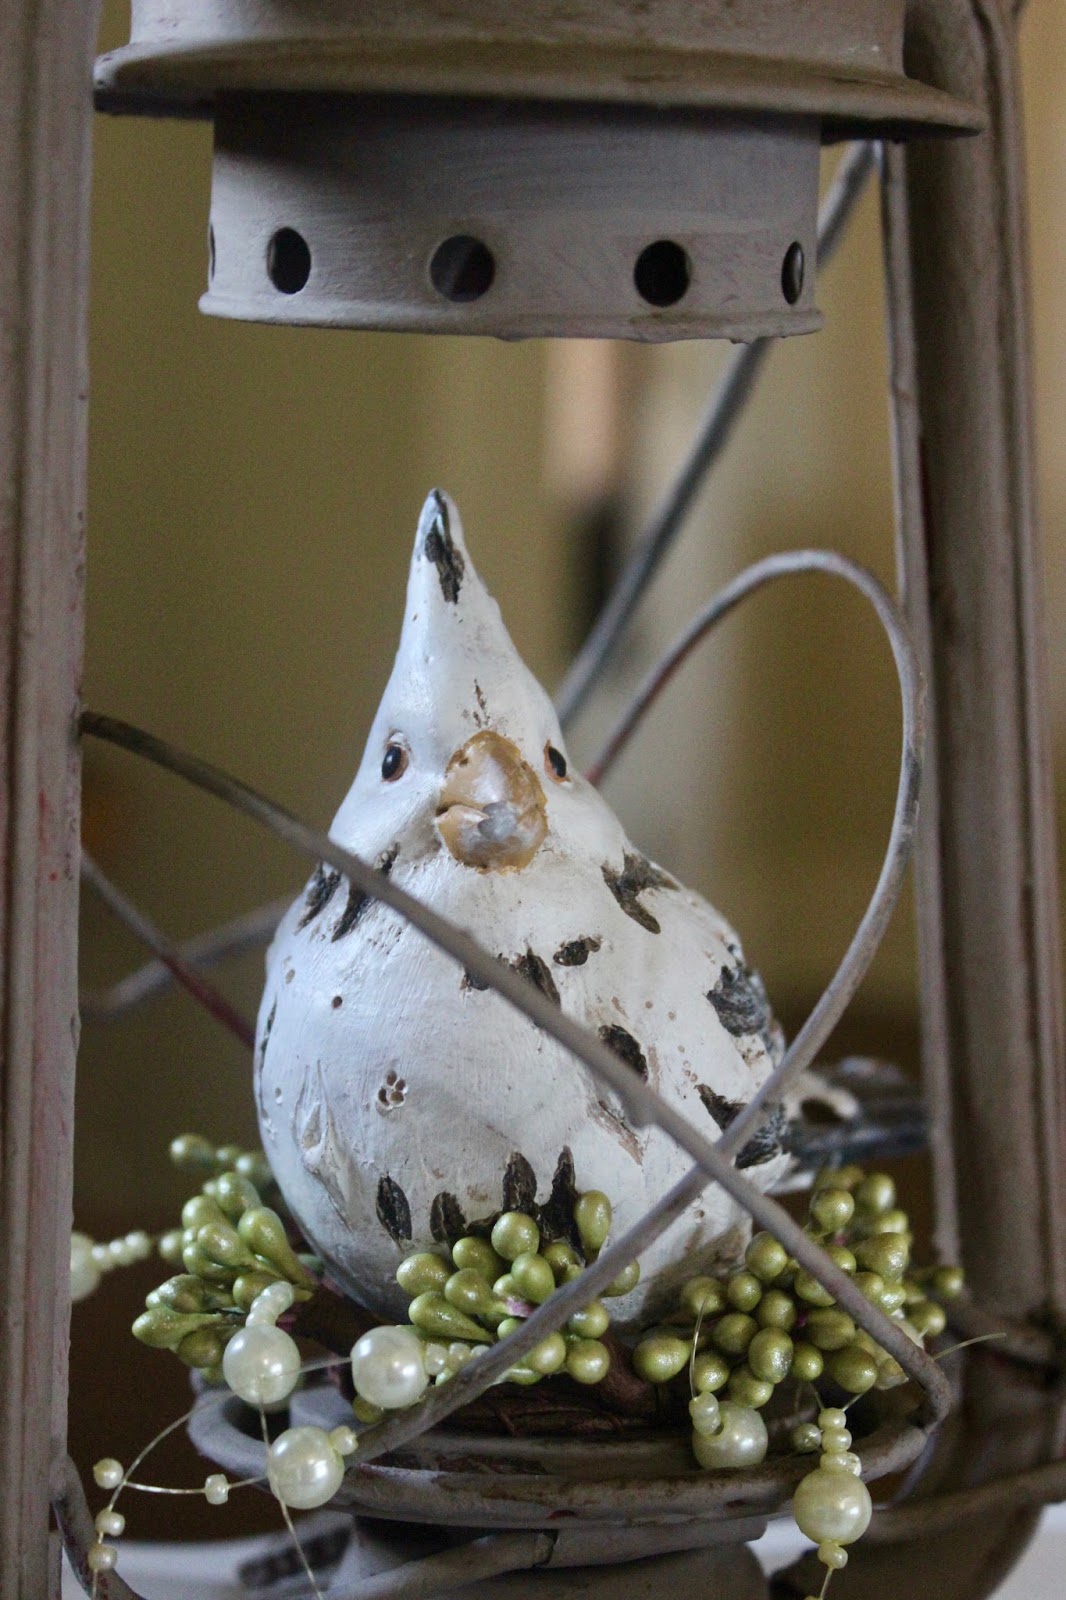
I like to dress the lanterns up with faux nests and birds. These two  lanterns have ribbon and beaded candle rings to pretty them up.

All the lanterns were missing the glass and were no longer functional when I bought them years ago. 
I'm going to paint the red lantern too, so I cleaned up the dust around the oil well to prep it for painting. One-Step Paint adheres to metal really well, as I'm sure you've heard me say before.

It's interesting how these old lanterns worked. It appears the oil goes in the well at the bottom, the wick runs down into the oil well and soaks up the oil, and the top of the wick that sticks out burns. 
That little circular knob in the middle is used to turn the wick up as it burns down.

I can't even imagine what it was like to burn oil in a lamp or lantern inside the house or even carry a burning lantern around outside, can you? We are so spoiled in the 21st Century.


Thanks for dropping by!


Friday, May 19, 2017

The 3 Seasons Of Decorating


I've decided to acknowledge what everybody knows:  There are only 3 seasons as far as decorating goes...
The 3 seasons are: Fall, Christmas, and Flag Season
Yep, that's right! Now that all my Christmas lights (yes it's true, please don't judge me too quickly) are finally down, I can break out all my little flags and stick them in the faux floral decorations and... 
I can leave them there through Memorial Day and all the way through the 4th of July! Then, as far as I'm concerned, mid-July comes and it's time to decorate for fall again.

I was looking for ideas of how I decorated the house in years past and found these pictures in my file. This year though, I'm truly going to do something different on that chalkboard. After all, Happy 4th is getting old!
I bought this book a good while back to learn how to create good chalkboard art. 

It has a lot of good ideas and suggestions, such as using painters tape to keep your writing straight. I set the book in the kitchen to try to get some pictures and, as you can see, the kitchen chicken was quite taken with the wild side of the art!

I'm joining the party over at Mrs. Olson's Share Your Cup and at Under A Texas Sky's Friday Favorites Link Party  Hope to see you there.


Thanks for dropping by!