Showing posts with label Shopping my garage. Show all posts

Tuesday, September 12, 2017

What I'm Painting White Wednesday


It's been a while since I've done a Paint It White Wednesday. Here's what I've been painting white this week:

This basket started off in an orangish natural state. It seemed to me it would be better painted white so I could fill it with some orange pumpkins. I've had it quite a while in my junk stash, and I think the color kept it from getting some love.
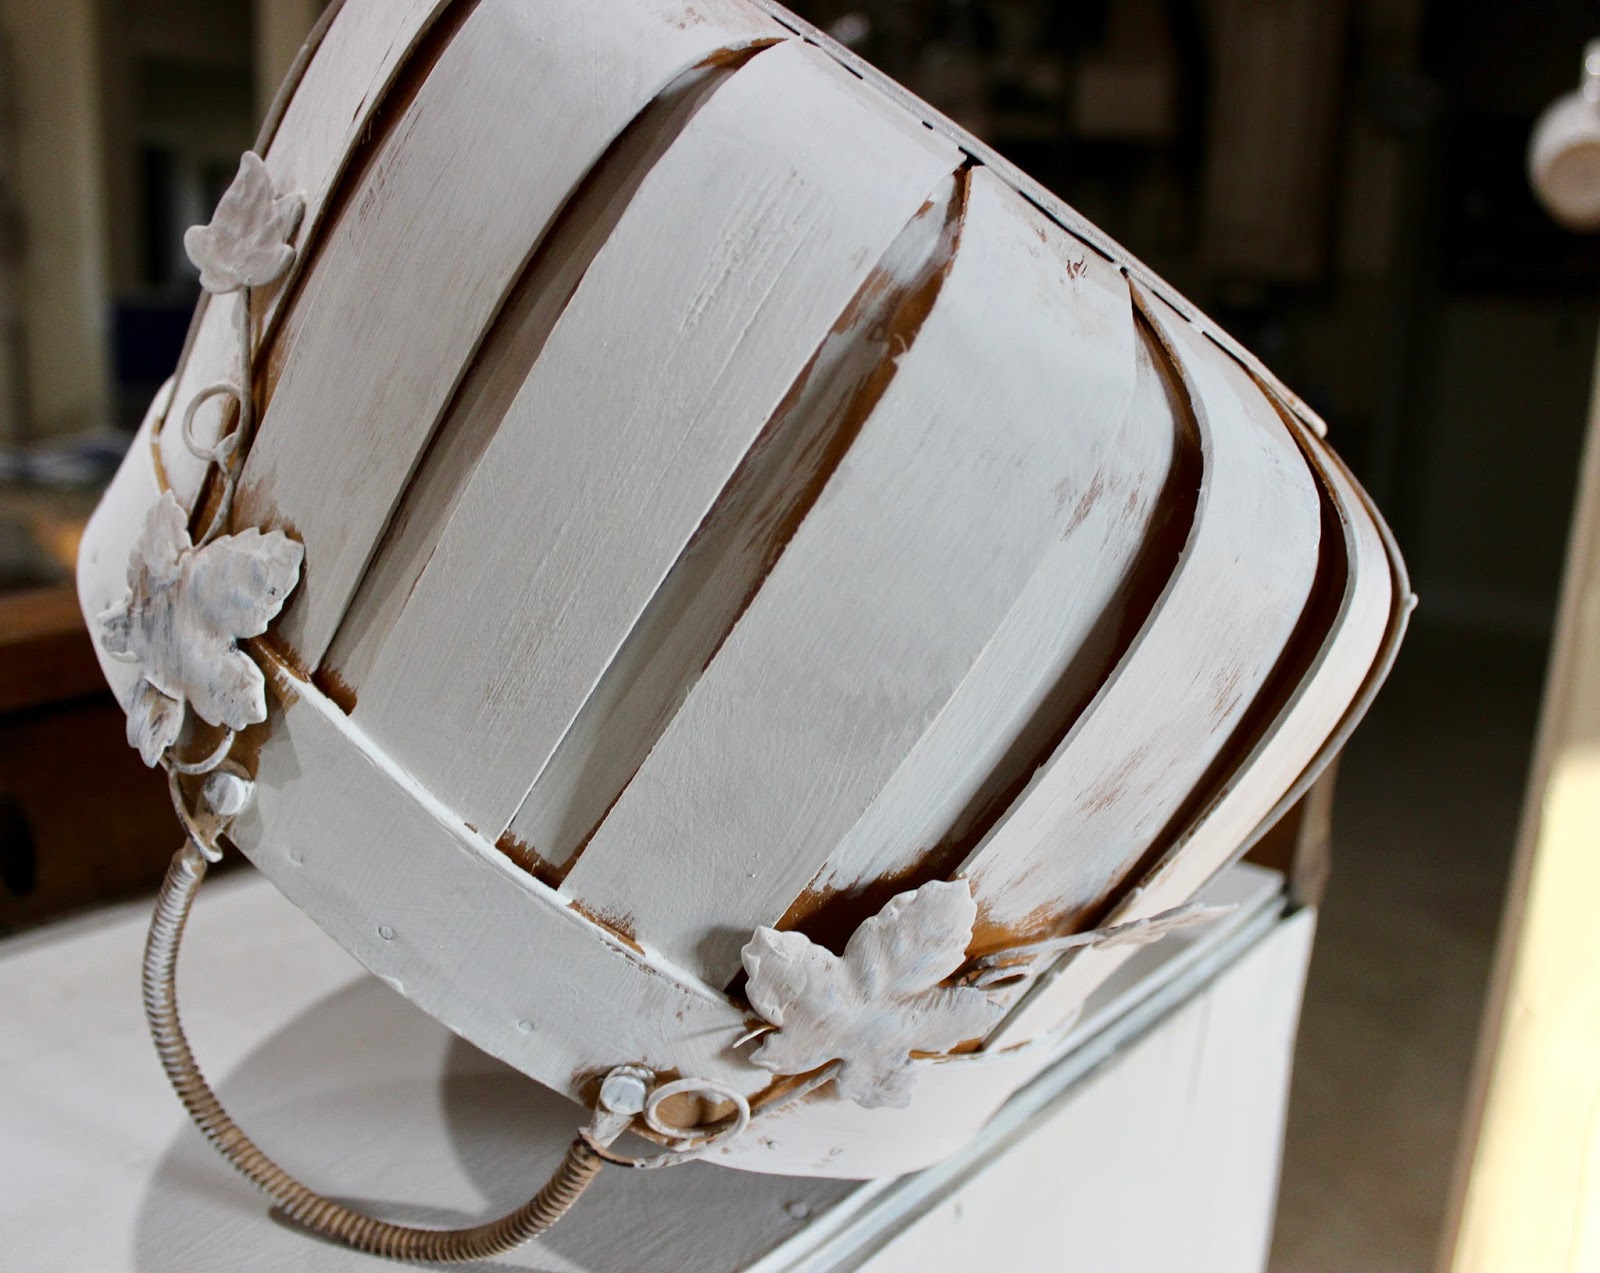

This is the original natural finish of the basket...


The basket is still a work in progress, but I did finish this resin-bowl-type-vase thingy!


I don't really know what its original use would be. I bought it a few years ago, for a couple of dollars, because I liked the fancy design on the sides. 

Even if you start with plastic, a little chalky-type paint can change the look for the better.


I may use it as a stand for a tray by gluing a tray to the bottom here. I think it looks just as good upside down as it does right side up.


In this post, I asked whether I should paint this cabinet or leave it be? Most comments said leave it as is for a while and live with it, which is the way I was leaning too.


But...and there's always a BUT, right? When I cleaned up the cabinet, the back seemed to have some dark stains (I couldn't see the back when it was in the store) and I wanted to seal that up. 

I painted it with white chalk paint, 1-Step by Amy Howard, to seal it. I chose 1-Step because it clings so well to anything I paint...plastic, wood, metal, etc. Here's the first coat of paint...


It took several more thin coats to even the color out and, since the back won't show, I wasn't making it pretty as much as just making it fresher. 

I think in the future I might paint over the white paint with a pretty dark blue color that doesn't contrast so much, but for now it's good!


The top wasn't pretty either since the top was made of the same "junk" wood as the back. I slapped some white paint on the recessed part of the top too as you can see here.


As you can see, even the "pretty" wood on the top is marked up quite a bit with scratches. Luckily, that part doesn't show when the top and bottom are put together. 


For now the cabinet is sitting in the dining-room-turning-hobby-room waiting for me to pretty up the wood with some teak oil. 

I'm still thinking I will not paint it...well, maybe the inside...as I really like the look of that big hunk of wood with all the painted furniture we have.


Thanks for dropping by!


Monday, May 22, 2017

Vintage Oil Lanterns


If having three makes a collection, then I guess I have a collection of these vintage oil lanterns. I've heard them referred to as Railroad Lanterns. Here's the three I have:

A copper colored one...
 A red one...
And one that I painted black a couple of years ago...

I used Amy Howard's One-Step Paint in black to paint this lantern black years ago. It has held up well over the years.

I like to dress the lanterns up with faux nests and birds. These two  lanterns have ribbon and beaded candle rings to pretty them up.

All the lanterns were missing the glass and were no longer functional when I bought them years ago. 
I'm going to paint the red lantern too, so I cleaned up the dust around the oil well to prep it for painting. One-Step Paint adheres to metal really well, as I'm sure you've heard me say before.

It's interesting how these old lanterns worked. It appears the oil goes in the well at the bottom, the wick runs down into the oil well and soaks up the oil, and the top of the wick that sticks out burns. 
That little circular knob in the middle is used to turn the wick up as it burns down.

I can't even imagine what it was like to burn oil in a lamp or lantern inside the house or even carry a burning lantern around outside, can you? We are so spoiled in the 21st Century.


Thanks for dropping by!


Friday, May 19, 2017

The 3 Seasons Of Decorating


I've decided to acknowledge what everybody knows:  There are only 3 seasons as far as decorating goes...
The 3 seasons are: Fall, Christmas, and Flag Season
Yep, that's right! Now that all my Christmas lights (yes it's true, please don't judge me too quickly) are finally down, I can break out all my little flags and stick them in the faux floral decorations and... 
I can leave them there through Memorial Day and all the way through the 4th of July! Then, as far as I'm concerned, mid-July comes and it's time to decorate for fall again.

I was looking for ideas of how I decorated the house in years past and found these pictures in my file. This year though, I'm truly going to do something different on that chalkboard. After all, Happy 4th is getting old!
I bought this book a good while back to learn how to create good chalkboard art. 

It has a lot of good ideas and suggestions, such as using painters tape to keep your writing straight. I set the book in the kitchen to try to get some pictures and, as you can see, the kitchen chicken was quite taken with the wild side of the art!

I'm joining the party over at Mrs. Olson's Share Your Cup and at Under A Texas Sky's Friday Favorites Link Party  Hope to see you there.


Thanks for dropping by!


Thursday, April 20, 2017

Why Our Front Porch Is Never Decorated


This is my tale of woe...
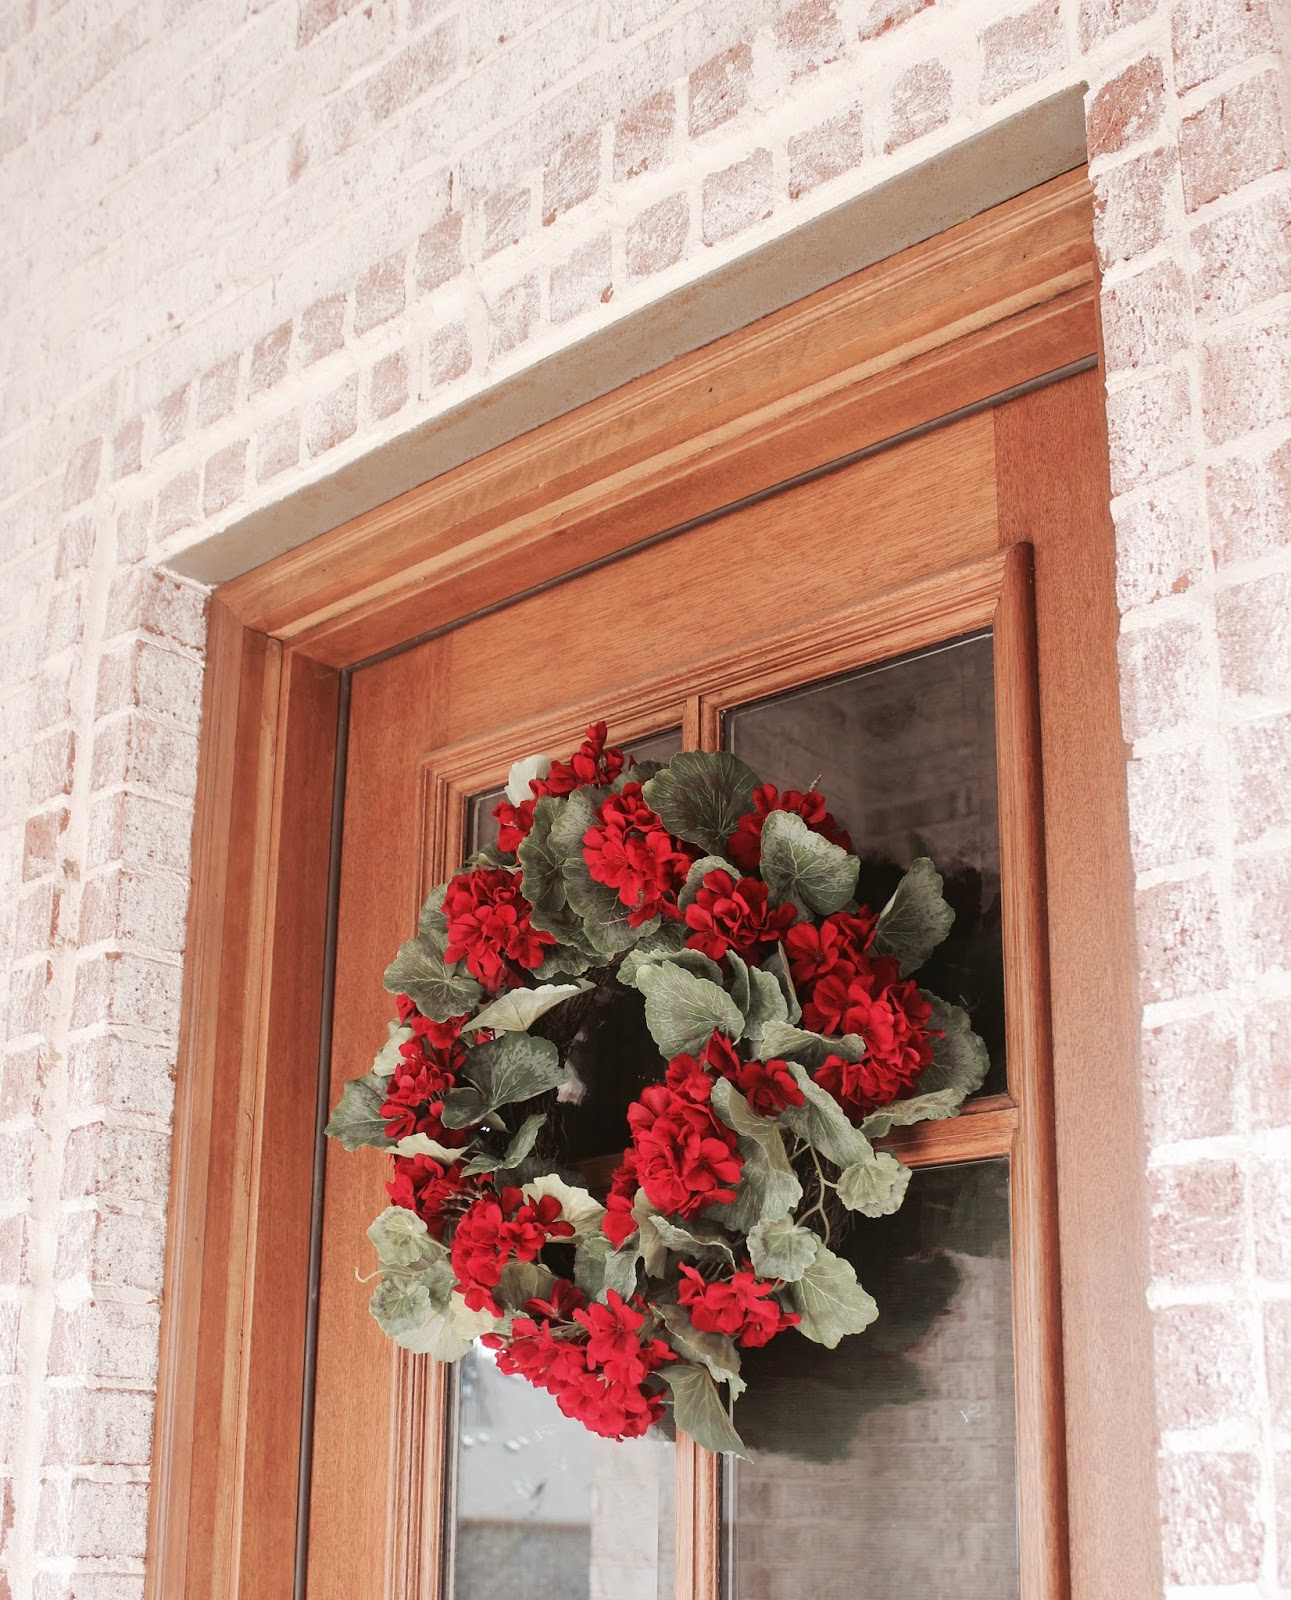
Other blogs have lovely porches, decorated especially for Spring and Summer. They usually have a wreath on their front door that changes with the seasons...
I would love to have a pretty wreath that welcomes people to our home.
But when I put a wreath on the front door, it always ends up in the garage trying to be salvaged. 
Birds like to build their nests on our front porch. It seems as soon as I put a wreath on the door, some bird couple claims that little piece of real estate as theirs, and the nest building begins.
Usually I don't discover their nest until they've lived in it for a little while...and pooped on the window...and made the wreath unsalvagable. 

This time though, I saw the birds right away before they had time to build a nest in our new geranium wreath. 

There was only a few twigs stuck in the wreath, so I pulled the twigs out and dropped them on the floor of the porch...
I was hoping the birds would be able to use them to make a nest somewhere else. Somewhere else far away hopefully!
And since the birds hadn't had a chance to dirty up the wreath, I found the wreath a new home too...


Thanks for dropping by!


Wednesday, October 26, 2016

Use It Or Lose It Wednesday


Still downsizing my crap stuff. My goal is to reduce my "stash" by 50 percent, so we've developed a use it or lose it attitude. While a lot of stuff has gone out the door, some I've kept to fix-up and paint. Here's my latest creation...
A lot of people have been making these tiered trays with old plates or pans and candle holders. This one is made with a terracotta saucer and an old candle holder.
I made sure the terracotta saucer fit the cloche I had. If you don't have an old terracotta saucer, you can buy one at a local hardware store in the garden section for $2 or $3 depending on the size you need.
I bought some Amy Howard paint in the color Linen recently, so I used that to paint the candle holder and terracotta saucer. The candle holder is wood with a small metal piece on top. 

After I was happy with the paint coverage (3 or 4 thin coats), I used Miss Mustard Seed's clear wax to give the paint a little protection. It was what was handiest today. Any of that type of wax would work.
I eyeballed centering the candle holder on the bottom of the saucer, then I put some sturdy glue on the rim of the top of the candle holder and put them together. 
I used this project glue that I already had, but Gorilla Glue or E-6000 or the like would work just as well. 

OK! Now we're at the fancy part!!! I looked around the kitchen in a panic for something that was heavy and would fit in the saucer...
The idea was to weigh down the top so the glue would bond well. Just in case, I threw in two cans of salmon to add as much weight as I could. 
TA-DA!!!
Don't laugh, but I was so proud to finally make something and get it done. I have really seen a lot of my prized "project" stuff go out the door with all the downsizing. Finally a little of my junk gets to stay.


Thanks for dropping by!

Let's Party Here:
Share Your Style


Monday, August 31, 2015

My Favorite Quilt


My mother-in-law's family has quilted forever.
 When you had a large family in early Texas,
homemade quilts were a necessity.

Here is my favorite quilt, made by her side of the
family. Perhaps you remember she comes from a
very large family...10 girls and 2 boys.

 
 Depending on how I fold it up, the quilt can be
quite soft or quite dramatic, but always colorful!
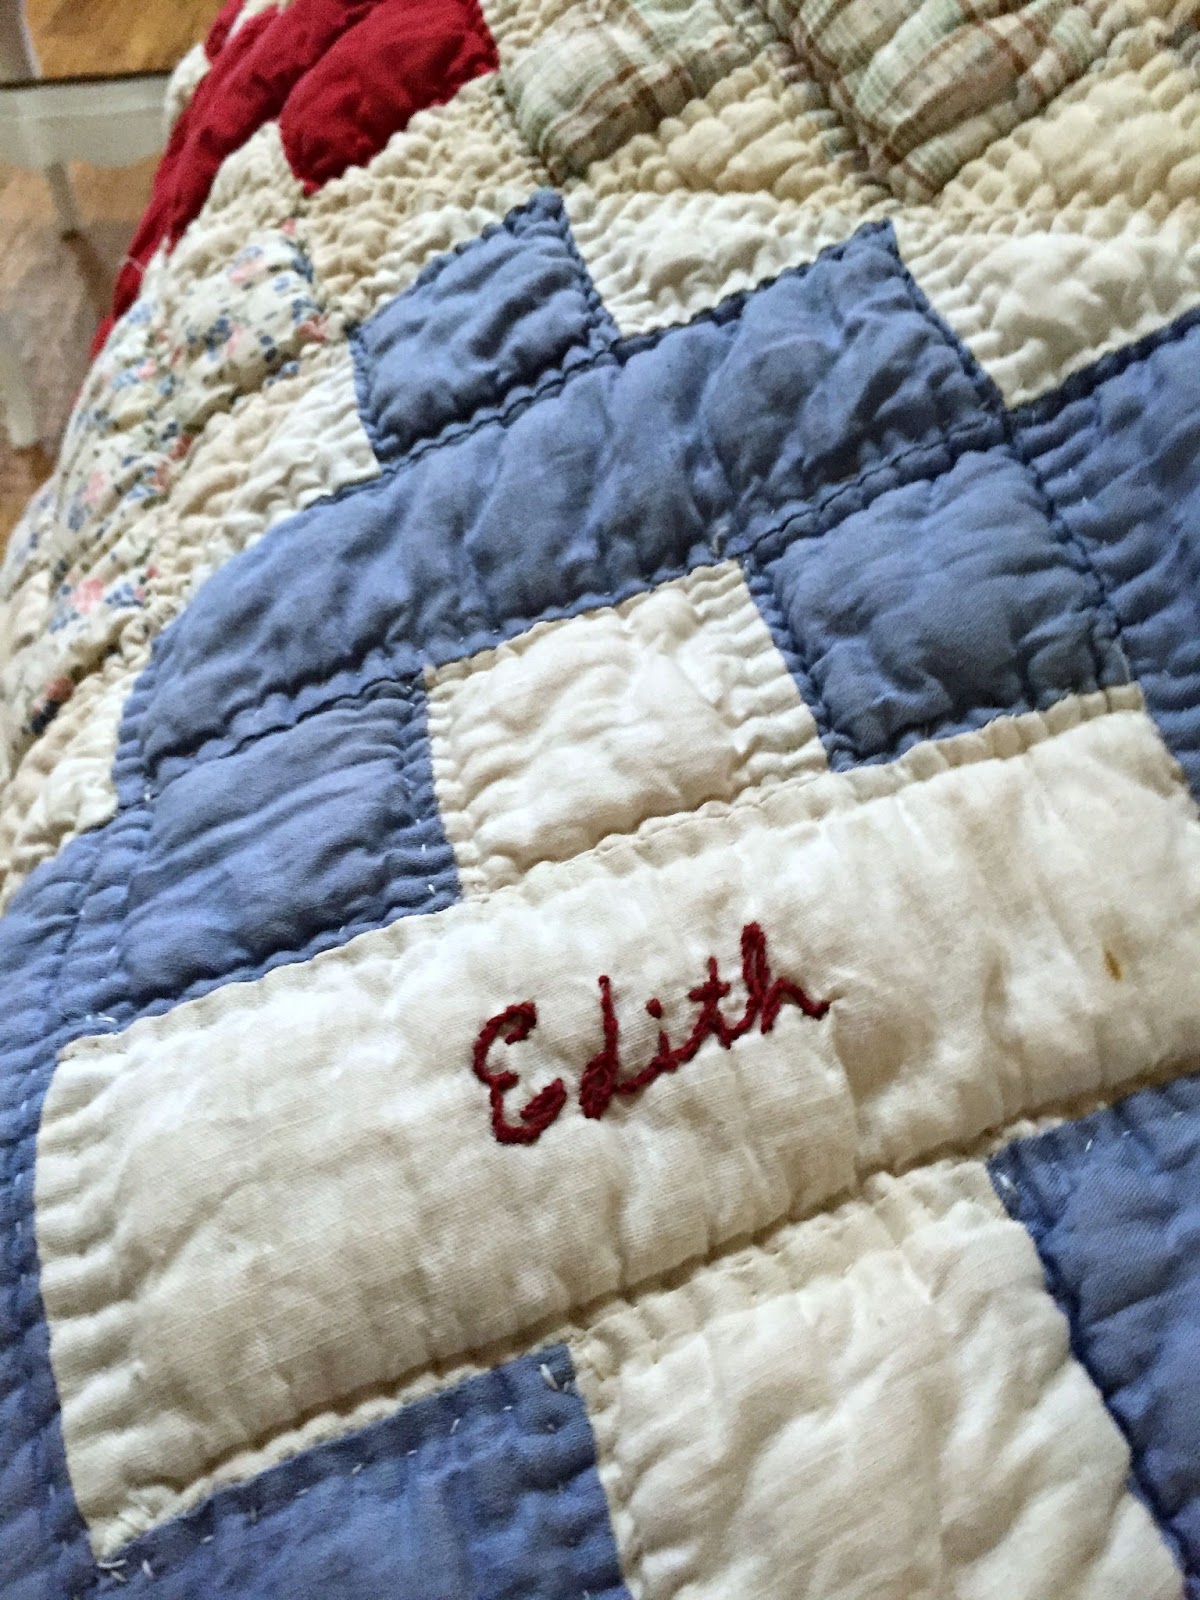
  Taking center stage is the square made by
"Mother" Mattie Savage, who lived to be
almost 100 years old despite having 12 kids.
My mother-in-law has agreed to tell me the
story of each person who created a square as
soon as she's had a chance to recover from
her latest hospital adventure.
 In the meantime, I keep the quilt tucked away
in my sitting room with the chicken pillow to
keep it company.
I know some of the ladies who made the squares,
and some I've never heard of. 

 There are a few people I can't wait to hear the
story of...bold AUNT TILDA and MITTIE are
at the top of that list!


Those are some pretty bold colors they
chose, considering it was probably early
1940's when this quilt was done.
 

I know that because my mother-in-law and
her sisters signed their quilt squares with
their maiden name Savage.
All except for Aunt Nola that is...who used only
her first name. She was as flashy as the bold
red material she picked out!
 Nola was a hairdresser with her own shop.
She liked makeup and jewelry. Lots of jewelry.
Could you tell by the square she made?
 I'm looking forward to hearing about soft Grace

 ...and sturdy Opal. 
Looks like Opal wanted her signature to last...
 When my mother-in-law gave me this quilt,
I struggled with how to clean it. It had been
packed away for a while and stored. I'm very
allergic to dust mites, so clean it I must.


I was going to have it dry-cleaned, but then thought of
the horror stories I'd heard about old wedding gowns.
 Who wants to be known as the family's quilt killer?


There's a quilt shop in another small town close by.
I planned to talk to the shop owner to get a ton
of instructions on the do's and don'ts.
 Then one day, while reading the signatures, it came
to me that these ladies used rugged stitches and
cloth of their day, and they had wringer-type washers
back then that must've crushed the hell out of stuff...
 
they were probably laughing at my panic and
indecision right now, from their sewing circle on high!


So I got out the Woolite, set the modern machine
on delicate, and said a prayer.


I'm happy to say we both survived.


Thanks for dropping by!