Showing posts with label Use It Up-Wear It Out-Make It Do-Or Do Without. Show all posts

Wednesday, June 3, 2020

Life Does Go On...6 Months In


Hey Everyone! I'm trying to come back. 


Finally getting my feet on the ground and starting over instead of hiding out...


It's been 6 months today since Wild Bill passed. Seems like so long ago in a different life.

I rented a very small apartment with a large attached garage. In the Illinois winters that garage will be a godsend.


Mississippi House bought in Aug 2019, sold Feb 2020.

I gave most of our furniture to the people who bought our house in Mississippi so I'm living, for the time being, with a few borrowed pieces of furniture from my daughter who lives nearby.

With all the businesses shut down, it's been hard to buy furniture so I'm taking it slow. I plan to buy a small home next year so will try to keep the furniture minimal.

Last weekend, I drove down to Mississippi with some friends and picked up what belongings I kept in a storage unit there. 

I put everything in my attached garage for the time being while I determine what stays. 


I know this 70 year-old church pew will stay. I love it. I bought it on Facebook Marketplace from a wonderful couple who became my best friends during the 7 months in Mississippi. 


Juan and Floria were truly angels who showed up to help me through the worst part of my life. I will forever be grateful that God sent them to me just when I needed angels the most.

I hope you'll come back and see me. I'm determined to get back to blogging and life and hope you will share it with me.


Thanks for dropping by!


Wednesday, May 22, 2019

Unusual Building Objects


The old-time builders didn't have a Home Depot or Lowe's just around the corner. They had to use what they had on hand, and it seems some of it has lasted for quite a while.

Whoever built this old building certainly saved some time by using whole tree trunks as front porch posts. 


It tickled me to see how much work they saved, but I doubt if...in today's world...this unusual use of tree trunk posts would pass the building inspector's review!


Anyone can build a fence, but adding bikes to the mix really gets your attention as you pass on by.


The owners of a bed and breakfast in Salado TX used old roofs from small dilapidated buildings to make a shady outdoor sitting area for their guests. Love the old "Fish Scale" gray trim on the front side of the roof.


The owners also added old windows in frames to an old roof to make a charming greenhouse structure on the property. 


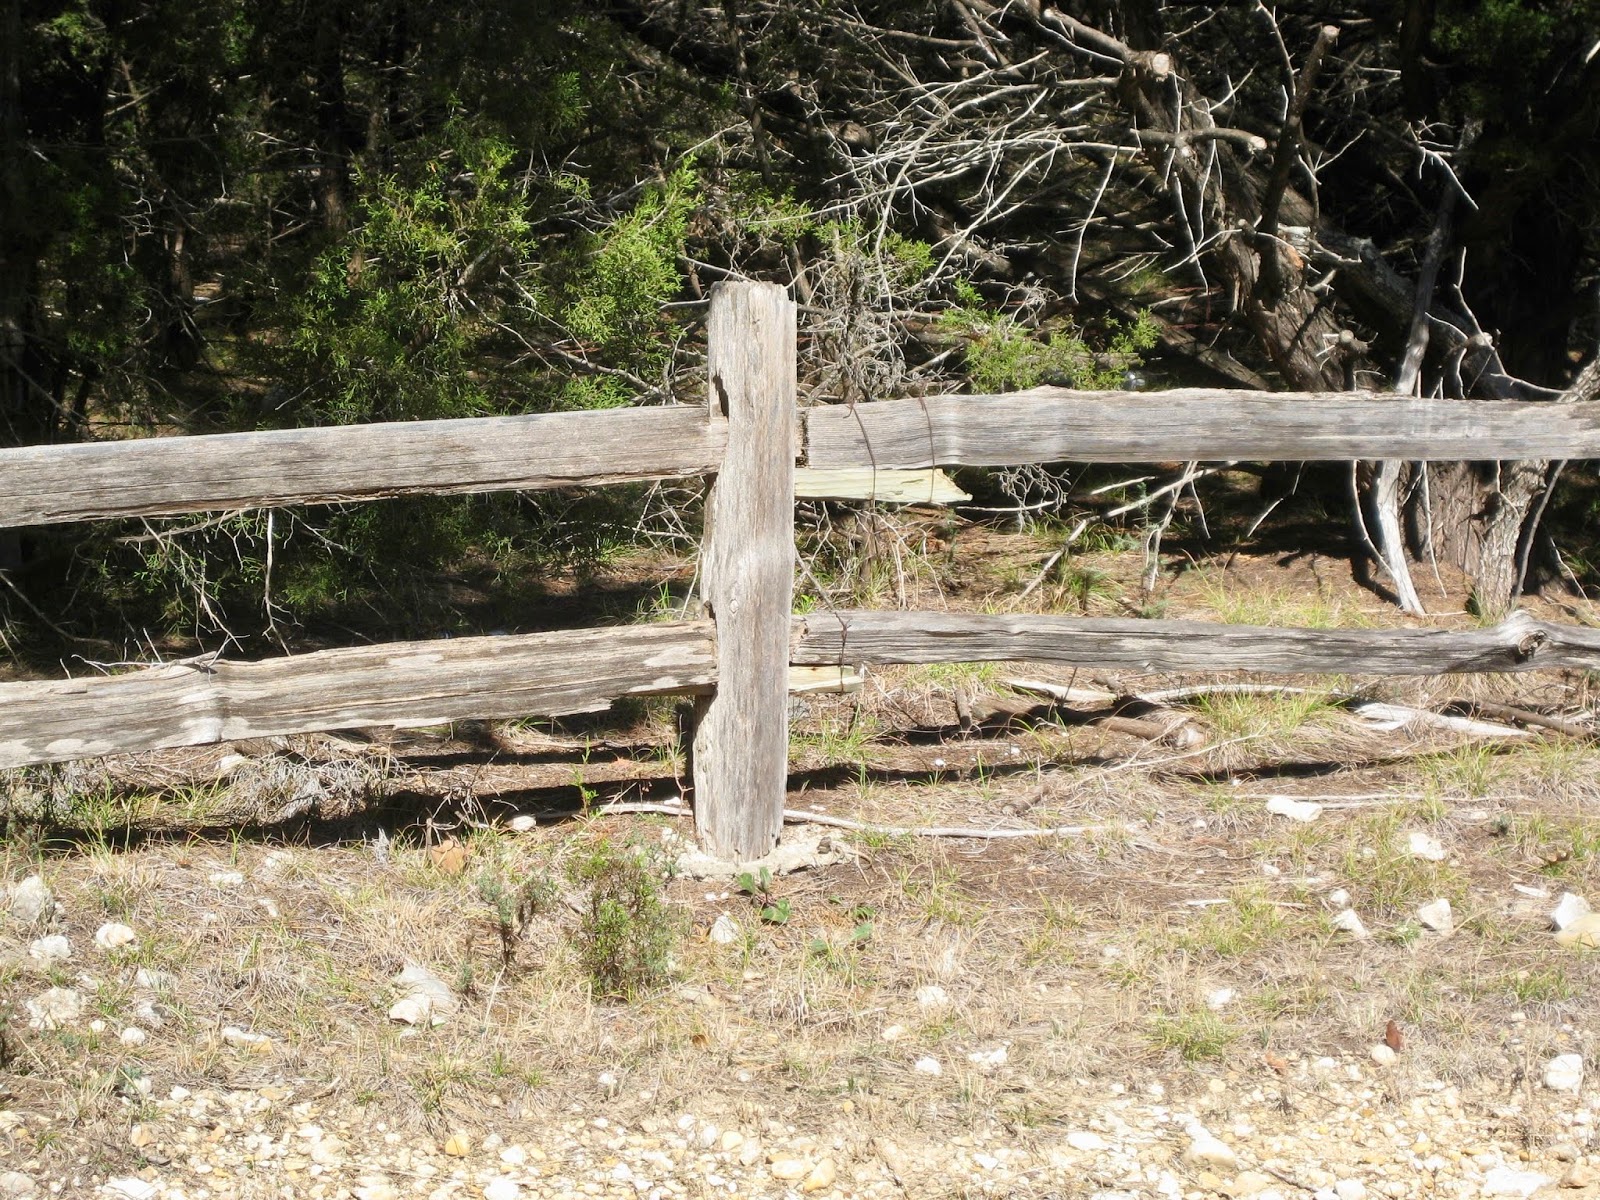
In the olden days, making a fence was pretty simple! They just took a post made from a tree, put a few large holes through it and stuck a few split-rail logs through the holes. Easy peasy!


Down here in Texas they still use a version of this type fence for decorative purposes.


When barbed wire came along, it looks like they just stuck in some metal bars and strung some barbed wire right along the original split rails.

Reminds me of my grandma, who always quoted this old-time saying:  Use it up, wear it out, make it do or do without!


Thanks for dropping by!


Sunday, April 14, 2019

House, Health, Happiness Of Letting Go


We've been gone awhile. Wild Bill and I took a trip up to the chilly north to see Middle Daughter and family, then we went down to Tennessee and looked around a bit.

It felt good to get away for a little while. Chemo starts again this week for Bill, and we will be putting the house up for sale soon. 

Our House In Winter

We had planned to put it up for sale sooner but then the house next door, AND the house across the street, AND the house down the street all went up for sale at the same time! 

We decided to wait a bit until at least one of the three other houses sold. Thankfully, two of them have sales pending, so we feel better about putting ours on the market now.

Our House In Summer

It seemed heartless to add another house to the mix so we spent the time boxing up what we wanted to keep and donating/giving away the stuff that no longer brings us joy.

Hopefully waiting will benefit us too. I think our house is much more attractive in the summer with the grass all green and the planters with flowering plants to liven it up. 

How about you? Does your house have a season it seems to favor?


The flagstone patio we put in the front, on the east side of the house, comes alive when the potted fig tree bursts out in green and the sun beats down on Texas. 


The patio is a great place for a cup of tea in the early morning or a cool drink in the afternoon when the sun goes over the house and it's shady all the rest of the day.


We'll miss the house, but we're ready to move on. I personally dread the process of selling the house. Maybe that's another reason why we've put it off until now...

Tell me...Do you remove everything but the absolute necessities? Do you live in the house while it's up for sale or do you move out? 

If you have any suggestions, I'd love to hear them please. 


Thanks for dropping by!


Sunday, February 17, 2019

Fixing The Kitchen Knobs


The builder's wife is a designer, and she used a variety of knobs and "aging" to make our kitchen appear to have evolved over time.

We're planning to sell the house soon. If we were staying, I would have the cabinets re-painted (probably black) to do away with the aging. 

But I'll leave painting up to the next owners because I've learned from experience that changing one thing can lead to a whole bunch of other changes being needed!


A while back I found some metal knobs that sort of matched our metal ones on the pantry shelve doors above. 

The knobs were on clearance at Target in the Fixer Upper folk's section called Hearth and Hand


The original price of each knob was $3.99, but they were on clearance for around a dollar apiece. I bought all they had and put them away for a future project!


Half of the upper and lower cabinets in the kitchen had glass knobs. 


The glass broke on 3 of these knobs

The glass knobs on one top cabinet and two bottom cabinets broke off. I ignored them as long as I could even after I found metal ones to replace some of them. 


I vacillated because I thought I would need to hire someone to replace the knobs. Wild Bill has chemo-related neuropathy in his hands, which makes even buttoning a shirt hard to do.

I figured the knobs I had stored away would work, but thought special tools would be needed...ones I didn't have.

The other day I started thinking, "How hard can it be?" 


These bottom cabinets were glass knobs

Turns out, not hard at all! All I needed was my little needle nose pliers to loosen the backs that were on too tight! I was even able to screw the new knobs on with just my fingers. 

All six bottom-cabinet-glass-knobs were replaced with metal ones. That way I was able to use one of the good glass knobs from the bottom cabinets to replace this upper glass one that was broken.


I've been finding that some things are a lot easier than you think they will be, it just takes getting started. 


Thanks for dropping by!


Thursday, April 5, 2018

TBT Tip: Baking Soda Cleaning


Here's a Throw Back Thursday tipBaking soda is so cheap and versatile when it comes to cleaning. I know I've said this before, but it can be used on sinks, silver, refrigerators... and even on your skin mixed with an oil or cleanser.

Here's our tray after sprinkling it with baking soda and then wiping the baking soda with a clean wet cloth to remove the tarnish.

Cleaned With Baking Soda And A Damp Cloth

Here's the before...

The Ugly "Before"

One benefit in using baking soda for cleaning is that it is edible. If you clean your silverware with it you don't have to worry if some is left on your silverware or platters.

I'm joining the Share Your Cup Thursday Party over at Have A Daily Cup Of Mrs Olson. Hope you'll join the party too.


Thanks for dropping by!


Wednesday, January 17, 2018

Crafty Home Cottage $25 Amazon Giveaway!


Over at Crafty Home Cottage, Connie has announced a giveaway. 

Yup...a $25 Amazon Gift Certificate Giveaway! 

Connie also makes some pretty cute crafty stuff...just like her blog name implies. So if you don't win the giveaway, you'll at least get some crafty inspiration!


She's doing the drawing on the 20th, so hurry on over to Crafty Home Cottage soon.


Thanks for dropping by!


Thursday, January 11, 2018

Use It Up: No-Spend Low-Spend January


Our family and friends "group" has done well with the No-Spend/Low-Spend January challenge for the first 10 days of January. 


In fact, I'd say we've all gotten pretty good with the "Use It Up" portion of Grandma's favorite quote!

Use it up, Wear it out,
Make it do, Or do without


Five households are participating in our group. We've been creating menus from what we have in our cupboards and freezers, packing lunches, making our own coffee drinks as much as possible and trying to buy only necessities like basic staples and cleaning supplies. 

Eating down the cupboards and freezer this month also provides an additional benefit of reducing the possibility of food items going bad soon and needing to be discarded. 

The first thing I did this month was check the "Use By" dates on all our boxes and canned goods up in the cupboard. Items that have expiration dates within 4 months were put on the lowest shelf to be used first.  

In our house, what we don't eat on that shelf during January will be donated to a local food bank as -- if we don't eat it this month -- we probably won't eat it before it goes bad.

Reducing waste pays off! One of the daughters commented to the group that she had used a package of ground turkey in her freezer that she had been avoiding. 

A while back she bought a couple of packages of ground turkey, cooked one, but found she didn't particularly like ground turkey. 

Because of the challenge to reduce buying during January, she cooked a meal with the ground turkey and used up what probably would have gone bad.

What if you don't like the taste of something? There are alternate ways to use up food if you think about it creatively. 

I think our daughter said she made Lettuce Wraps with her ground turkeyOther ideas to use up ground turkey (or meat that's been in the freezer a while) would be browning it for a soup, or mixing it equally with ground beef, bread crumbs and spices to make meatballs or a meatloaf. There's always some way to use it up!


So for us this month, as far as spending goes...so far so good! How about you? Are you avoiding spending this month too?


Thanks for dropping by!


Friday, January 5, 2018

Finish It Up Friday


We managed to stay home all week with only one or two quick trips out. 

That really helped with "Low-Spend January" for us! Surprising how much money you don't spend when you don't go out, right?


The coffee table, my favorite victim, has been in the garage (in the repair pile) for over a year. 


I had a "fail" a while back when I tried to put a shelf on the bottom cross bars, and the weight of the shelf broke one of the bars off. 


Bar Front Bottom Broke So I Removed It...Well It Removed Itself

I plan to add the shelf back to the bottom, but this time I'll remake the shelf as a platform with wheels and then set the coffee table on it.

I got that idea from walking past this coffee table at Weir's Furniture a while back... 


I'm Going To Copy The Bottom Shelf

So for now, I repainted the coffee table with fusion paint, which is a mineral paint that is similar to chalk paint, but leaves a slight coat of protection on the furniture. 


I used the color Casement, which is a whiter white than the Limestone color that I've been using since seeing it used by Linda over at "Q is for Quandie". 

If you want to improve your DIY skills, Linda's blog is a great place to hangout and learn!


You don't have to wax or protect furniture painted with Fusion Paint, but I do plan to add a layer of a protective coating to the top once I'm completely finished with the re-do.

Here's some "action" shots! I painted a few other small pieces while I was painting the coffee table. I'll show you those another day.


Started Painting The Bottom First - Suggested By DIYers

I plan to use a product called Tough Coat on the top of the coffee table for a harder finish. 


Limestone On Left, Tough Coat, Casement On Right

For now I've got my coffee table back in the house, and one less project on the Fixing To Do list. Best of all, I didn't have to spend a penny on it since I already had the paint and Tough Coat sitting on my shelf.

If you want to see some great projects over at Q is for Quandie ... just click HERE. 


Thanks for dropping by!


Wednesday, January 3, 2018

Making Things Instead Of Spending Money


My Grandma was frugal and always liked to repeat the quote: 

Use It Up, Wear It Out, Make It Do, Or You Do Without!


One of the best sources of inspiration for using things up is the blog... Confessions Of A Serial DIYer.

Christy used two old picture frames and a few odd pieces of crapola to make this adorable Cupcake Stand.


She recently posted a Top Ten Projects From 2017 post that will tickle your fancy and hopefully inspire you to make something out of the junk you were going to get rid of anyway.

If you're participating in No-Spend/Low-Spend January, Christy's ideas for creating things from what you have just might help you stay away from the stores this month.

If you want to know more about how she made the cupcake stand, you can get all the details from her Repurposed Pitcher Frames post HERE.

If you're looking for lots of inspiration and ideas, check out her Top Ten Projects From 2017 post HERE.


Thanks for dropping by!


Tuesday, October 24, 2017

White Wednesday: Stained Glass


Someday I'll come to the end of the pile in the garage. But today is not that day!


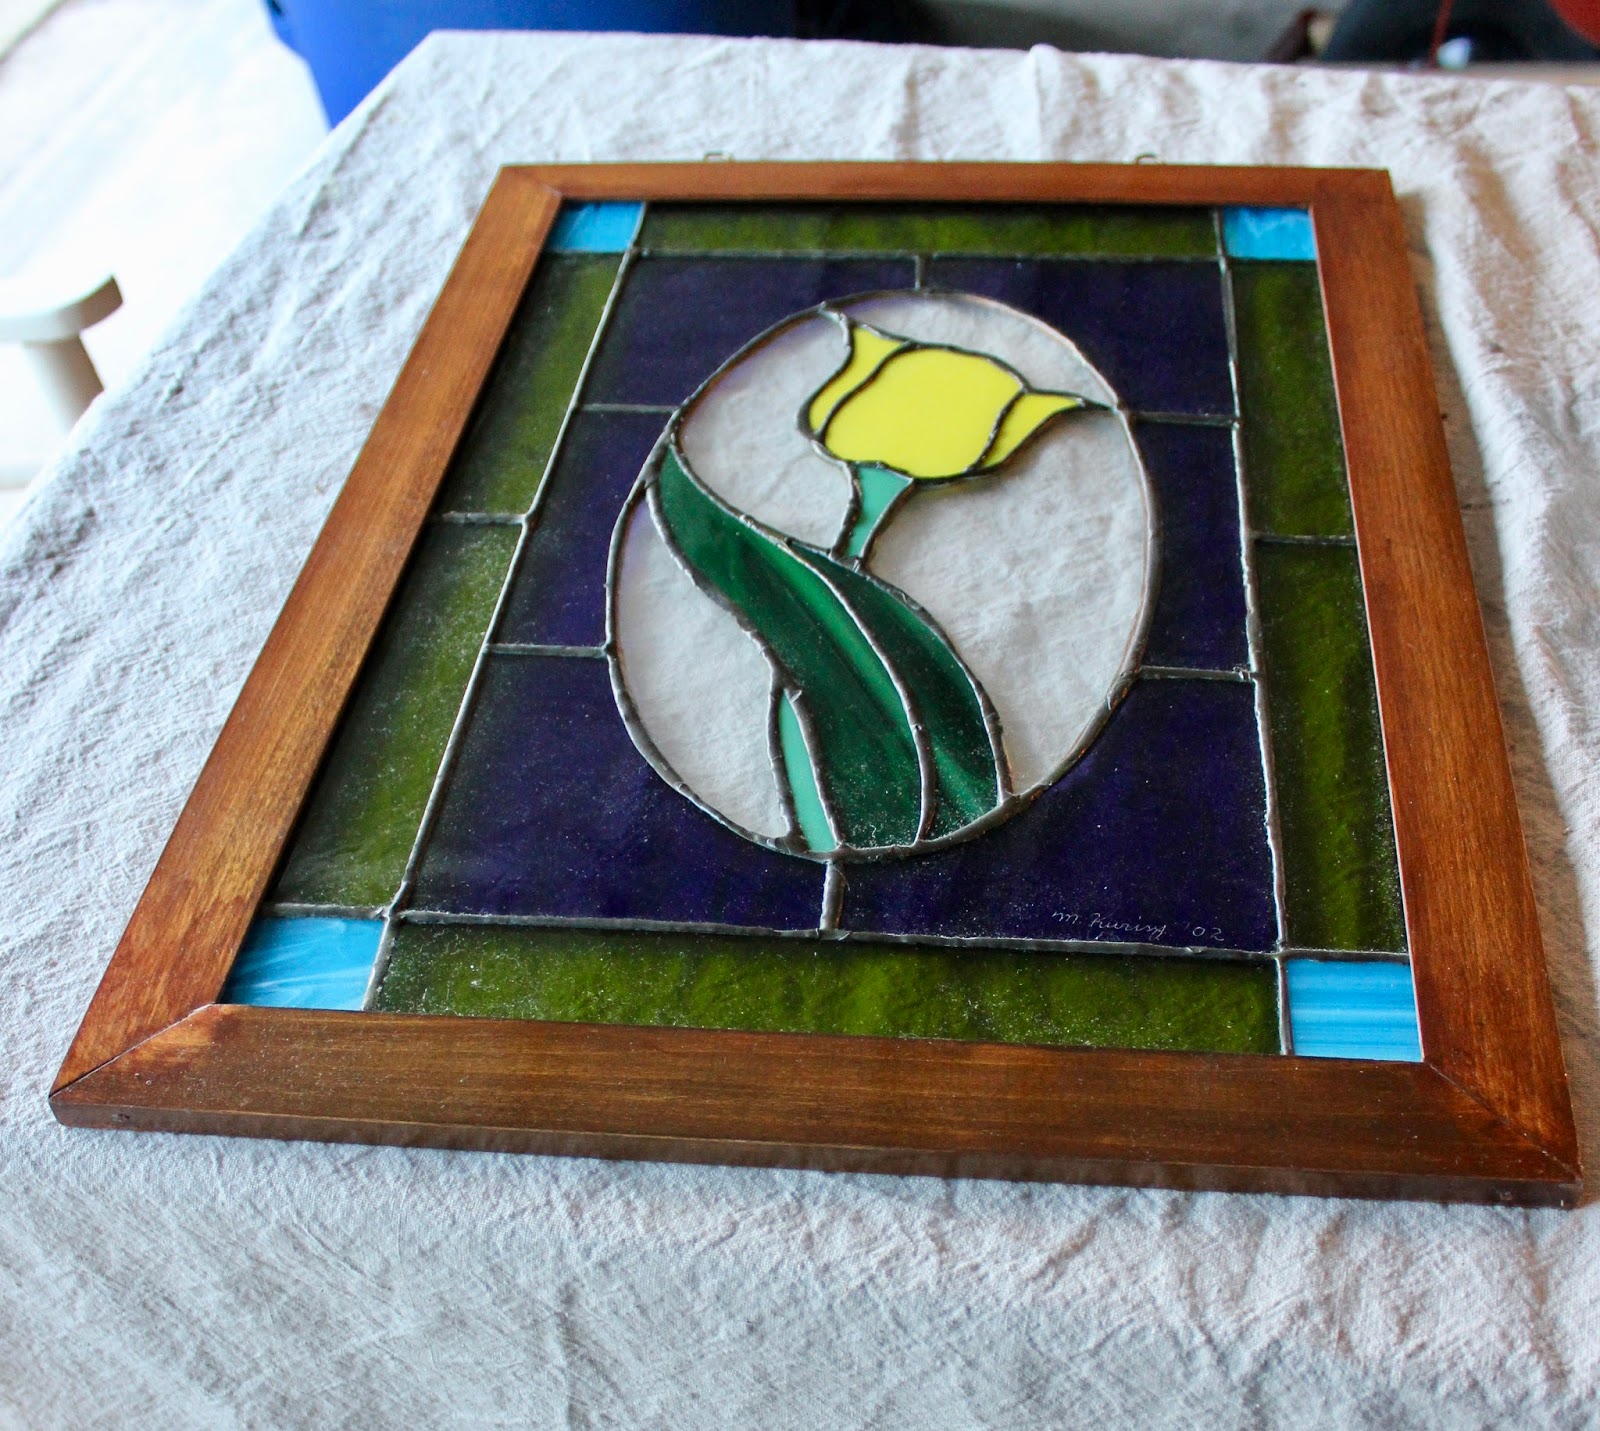
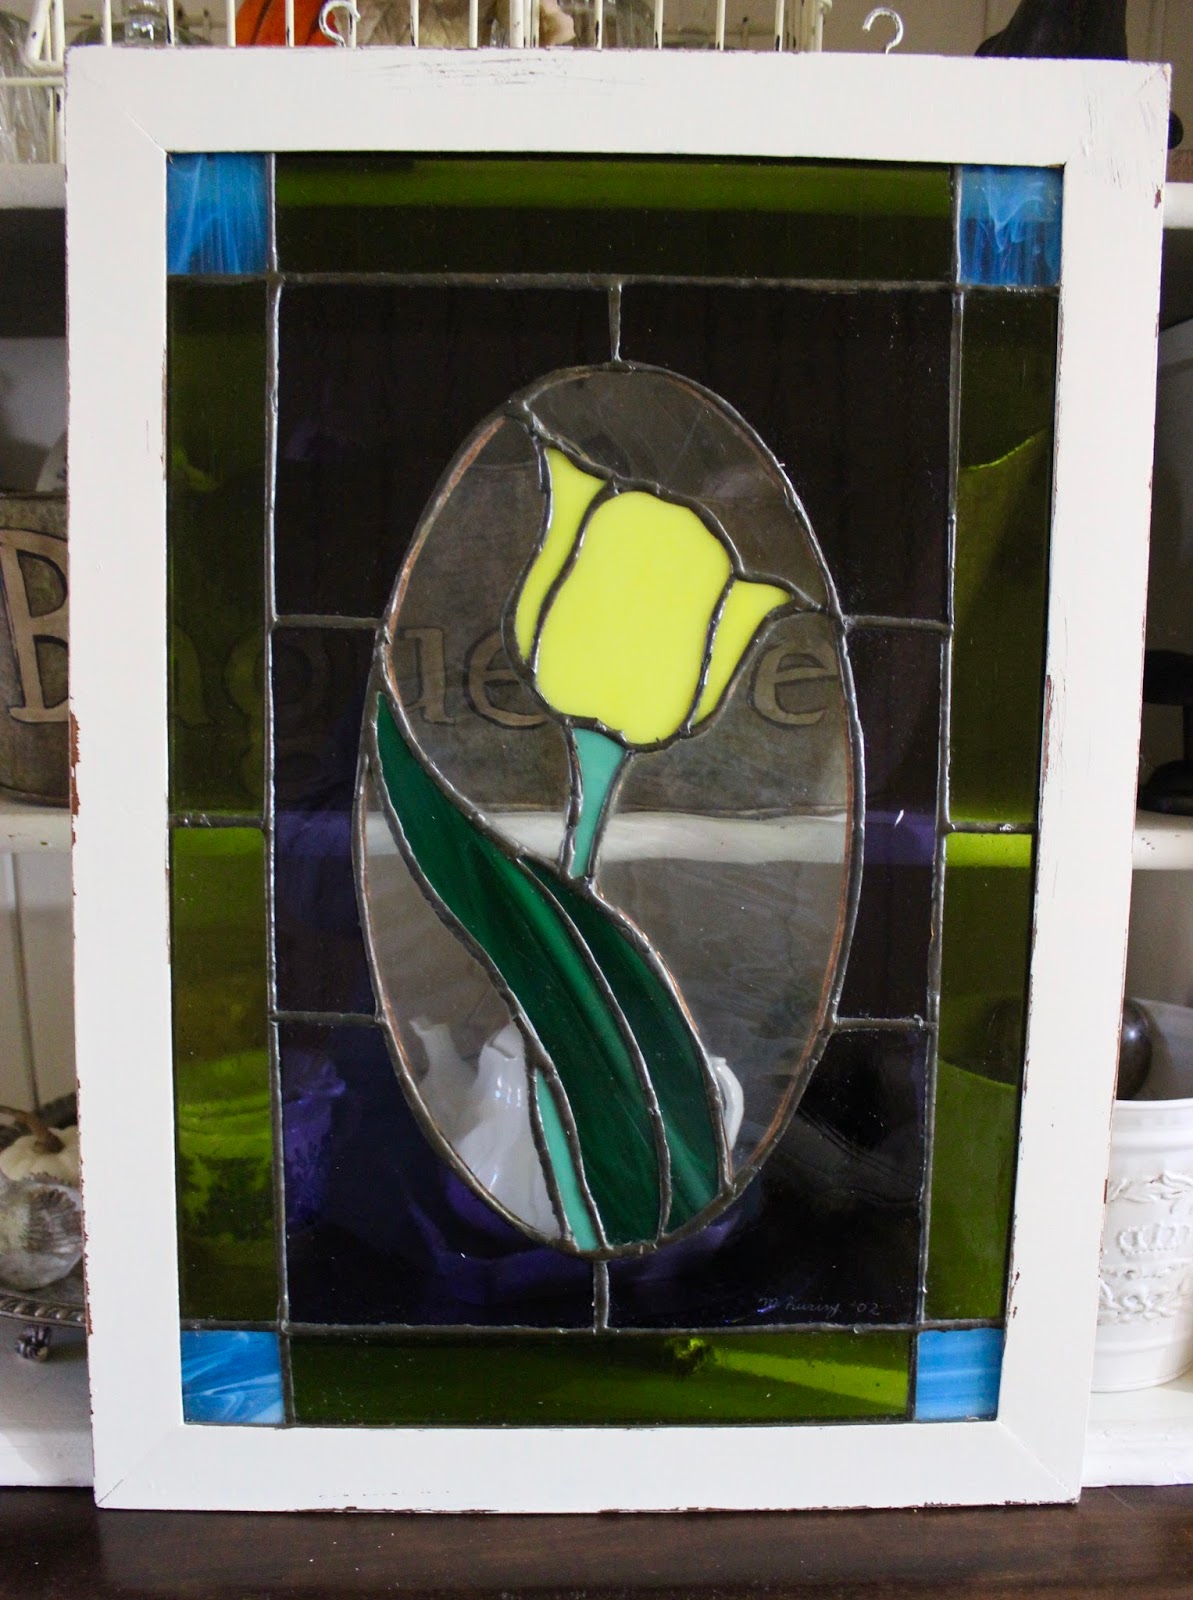
I've never been a stained glass person myself. This is a stained glass piece my mother-in-law didn't want anymore. It was a gift from a friend in 2002.


A while back, she decided to let it go when we were decluttering her apartment in her retirement community. 

When I got home, I placed it in a box marked "To Sell or Donate" and put it in the back of our garage to ruminate on it. 


Within a few weeks it started to grow on me. Always a bad sign when you need to declutter too!


Of course my first thought at that point was, "How would this look with some vintage looking, white distressed paint?" And, just like that, it became my next victim!


First coat of Fusion Mineral Paint in the color Limestone...


Second coat of Limestone...


This little jar is really going far! I absolutely love working with this paint.


Now it was time to rough up that pristine white paint. Some things just call for a little distressing around it, and stained glass is one of them! 


To distress the edges, I used a piece of rough sandpaper and a small bowl of water to wet the sandpaper. Don't get it too wet...just enough to make it easy to take a little of the paint off!


Later I'll add some dark wax to the areas I've sanded to age it a little more. I like to wait until I have a few things to wax, then I'll do them all at the same time. 


Thanks for dropping by!


Join Me Here:
Amaze Me Monday at Dwellings


SaveSave