Showing posts with label Cheap Tricks. Show all posts

Tuesday, July 17, 2018

Blame Debbie Dabble's Cute Filing Cabinet


Downsizing my late mother-in-law's things has been a long, drawn-out process due to the chaos in our life right now.  

My father-in-law is learning to adapt to being "Me" instead of "We" after a long happy 71-year-marriage. 

At 95, he's springing back...although that spring is a little too sprung more days than not!

Recently I brought home two drawers from their little filing cabinet intending to shred my mother-in-law's paperwork and then donate the 2-drawer file cabinet.

Debbie Dabble's Colorful Patio Furniture


Blame Debbie Dabble that the empty filing cabinet is still hanging around our house! 

I came across Debbie's post HERE and fell for the colorful cabinet she has on her patio...How cute is that little guy?...Well, cute enough for me to think I might copy her idea someday using my mother-in-law's file cabinet.

Debbie Dabble's Colorful Porch


I hope you'll hop over to Debbie's PLACE if you need to add a little shot of color in your life too...It's like she stole a rainbow and put it on her porch.


Thanks for dropping by!


Thursday, April 5, 2018

TBT Tip: Baking Soda Cleaning


Here's a Throw Back Thursday tipBaking soda is so cheap and versatile when it comes to cleaning. I know I've said this before, but it can be used on sinks, silver, refrigerators... and even on your skin mixed with an oil or cleanser.

Here's our tray after sprinkling it with baking soda and then wiping the baking soda with a clean wet cloth to remove the tarnish.

Cleaned With Baking Soda And A Damp Cloth

Here's the before...

The Ugly "Before"

One benefit in using baking soda for cleaning is that it is edible. If you clean your silverware with it you don't have to worry if some is left on your silverware or platters.

I'm joining the Share Your Cup Thursday Party over at Have A Daily Cup Of Mrs Olson. Hope you'll join the party too.


Thanks for dropping by!


Monday, March 26, 2018

Design Time Saturday Night


Do you remember when HGTV was all about decorating? I miss those type shows!


HGTV's Kitty Bartholomew

Over at Preppy Empty Nester, Katie did a great post Missing My Old HGTV on the old shows from the early HGTV days. 

I watched HGTV like crazy back then. Now, except for a few shows like Fixer Upper, I hardly ever watch HGTV. 

One Saturday (late at night) in the winter of 2000, I got inspired after bingeing on all the Design Time Saturday Night shows! We had just purchased a newly built house, and the walls were still bare and seemed a bit lifeless in most of the rooms.

I decided right then and there that it was time to decorate the downstairs powder room by the front door. Did I mention we hadn't yet acquainted ourselves with things like Water Shut Off Valves and such?


Always Learn Where To Shut Off Your Water And Gas


I was downstairs, by myself, and decided to hang a large picture above the toilet. I held the heavy picture up with my right hand, and  stretched way, way over to reach with my left hand to pick up the hammer.

The large picture slipped right out of my hand and dropped straight down shearing off a heavy plastic-and-wire-type plumbing hose on the back of the toilet. Water gushed everywhere! 

The powder room was right next to the front room with wall-to-wall carpeting. To keep the water flooding out of the powder room from getting to the carpeting, I got on my hands and knees and grabbed a small rug to bail water out the front door as it came gushing out of the bathroom.

I was bailing water out the front door and yelling for Wild Bill to turn off the water. He was upstairs playing his keyboard and couldn't hear me! 

Finally, with the water flowing faster than I could crazily bail, I ran to the stairs and screamed until he heard me.

We couldn't find the water shut-off anywhere. I bailed water while he ran to our new neighbors...who had a house with the same floor plan as ours...and asked where their shut-off valve was. 

Back he and the neighbor came and literally jumped over me as I was still bailing water out the front door.

They couldn't find the valve in the pantry where the neighbor's was located...so out the door they ran, around the house they went several times, then back through the front door again jumping over me as I bailed and bailed!

Finally, they returned to the pantry and found the valve right where it was supposed to be. Dirty, exhausted and soaking wet, we went to a Walmart and rented a Rug Doctor at 9:00 at night.

The two of us worked late into the next morning sucking water out of all our downstairs wall-to-wall carpeting. With the water shut off still because of the broken toilet hose, we went to bed dirty and totally beat!

Luckily the plumber who came on the emergency call Sunday morning to repair the toilet hose (with an indestructible flexible metal one this time) told us to call a "restoration" company, which we promptly did. 

At Sunday rates we almost paid our $500 deductible with just the  plumber's charges, so the restoration charges of nearly $4,000 was almost all covered by our insurance company. We were just glad to have our water turned back on.

Turned out, despite our late night Rug Doctoring episode, there was still lots of water in the carpeting and padding that had to be sucked out! And the flooded crawl space below the house was a swamp with all the water that flowed, so heaters and fans were set up right away on the first floor and in the crawl space under the house. 

We lived in Washington State at the time. In Washington, due to the wet weather that abounds, mold and mildew can easily set into your house when flooding is involved.

The noisy equipment ran and ran all week! We lived in our upstairs bedroom while this was going on, avoiding all the rest of the house. 

We were more than happy to get up and head to work each morning to get away from the sounds of all the equipment running day and night.

Have you every had a decorating faux Pas that lead to a disaster? Come on, I can't be the only one who almost wrecked a brand new house while trying to decorate. Maybe it's a good thing HGTV doesn't have Design Time Saturday Night any more.


Thanks for dropping by!


Tuesday, February 27, 2018

High Dollar, Low Dollar Carrot Wreath


Here's a cute idea for a carrot wreath created by Kimberly at Serendipity Refined last year for Spring 2017. 


I saw a similar wreath at Pier 1 Imports last week, but it was priced at $79 so I passed it up. 

Here's a photo from Pier 1 Import's website of the carrot wreath they're selling this year in 2018. 


Pier 1 Imports is running a clearance sale and has dropped the price of their wreath to $55, but I still think I'll try making Kimberley's with maybe a few extra carrots to fill it out more.

According to Kimberly's post here, she used an old grapevine wreath, some leftover burlap and ribbon, and about $9 for the carrots.

The carrots are the same carrots I bought last week at Hobby Lobby and Pier 1 Imports. The ones I bought at Hobby Lobby were half the price of the other store by the way. 

I'm using them to decorate the mantle for Easter with a Peter Rabbit theme...


If you are interested in making a carrot wreath, I hope you'll pop over to Kim's Blog and read her instructions and show her some love! She says it was really simple and took her only 10 minutes to do.


Thanks for dropping by!


Monday, December 11, 2017

A Tip On Lighting To Save You Money


Last week when the electricians replaced this light in our entry hall, we had another repair for them to do outside. 


See the light in that corner of the front-yard patio? It faces up and provides quite a bit of light on the wall.


Our house has six "UP" lights like that, which are mostly for display. The six lights use just a teeny tiny LED bulb that is barely the size of two cardboard matches.


It had been about 2 years since those UP-lights have worked! 

In the photos above and below, you can see the outdoor entry has a chandelier up top (behind the window) and two lanterns (on either side of the brick doorway) to provide lights for safety, so the UP-lights weren't a priority since we have lots of other things on our To-Do list.


Wild Bill had spent several sessions over that 2-year period trying to troubleshoot the circuit boxes and minor stuff, but since all six lights went out at the same time, he knew it was the wiring or some electrical issue best left to an electrician. 

So after quickly putting up the new inside chandelier, the two guys tackled the outdoor electrical problem. They were up and down in the attic and outside at all the light boxes, checking for any default they could find.

It only took all of 15 minutes for the two electricians, and a sheepish Wild Bill, to come in and announce the problem was fixed!


What was it? All six LED bulbs had indeed gone out around the same time, making it look like a wiring problem! A trip to Home Depot and all our lights were back in business. 

So, even if it appears the lightbulb couldn't be the problem... our tip is to check the lightbulbs anyway! 

While we were having a good laugh at Wild Bill's expense, the electricians told us the maintenance man at their company had complained a light in the maintenance area was out. 

They said they took all their equipment over to repair the light, and when they climbed up and looked into the light fixture -- there wasn't a lightbulb in the light socket! 

Just shows even maintenance professionals can make this mistake.


Thanks for dropping by!


Joining The Party Here:
Tutorials And Tips


Saturday, November 25, 2017

Faux Stone Walls


At the Vintage Mercantile in Frisco Texas, I was taken with this faux stone wall. 

One of the vendors at the Mercantile had walls done in faux brick and faux stone.


 I wasn't a fan of the faux brick, but the faux stone...hmmm...maybe!


The farther away from the faux wall you get, the more realistic it looks. 

If you look at the ad poster on the wall in the picture above, you'll see what I mean. Or maybe not? What do you think? 


Thanks for dropping by!


Saturday, October 21, 2017

Dollar Tree Halloween Decor


After loving the scary photos found on Saturdays Vintage Finds blog in my last post, I hustled right down to Dollar Tree just like I said I would.

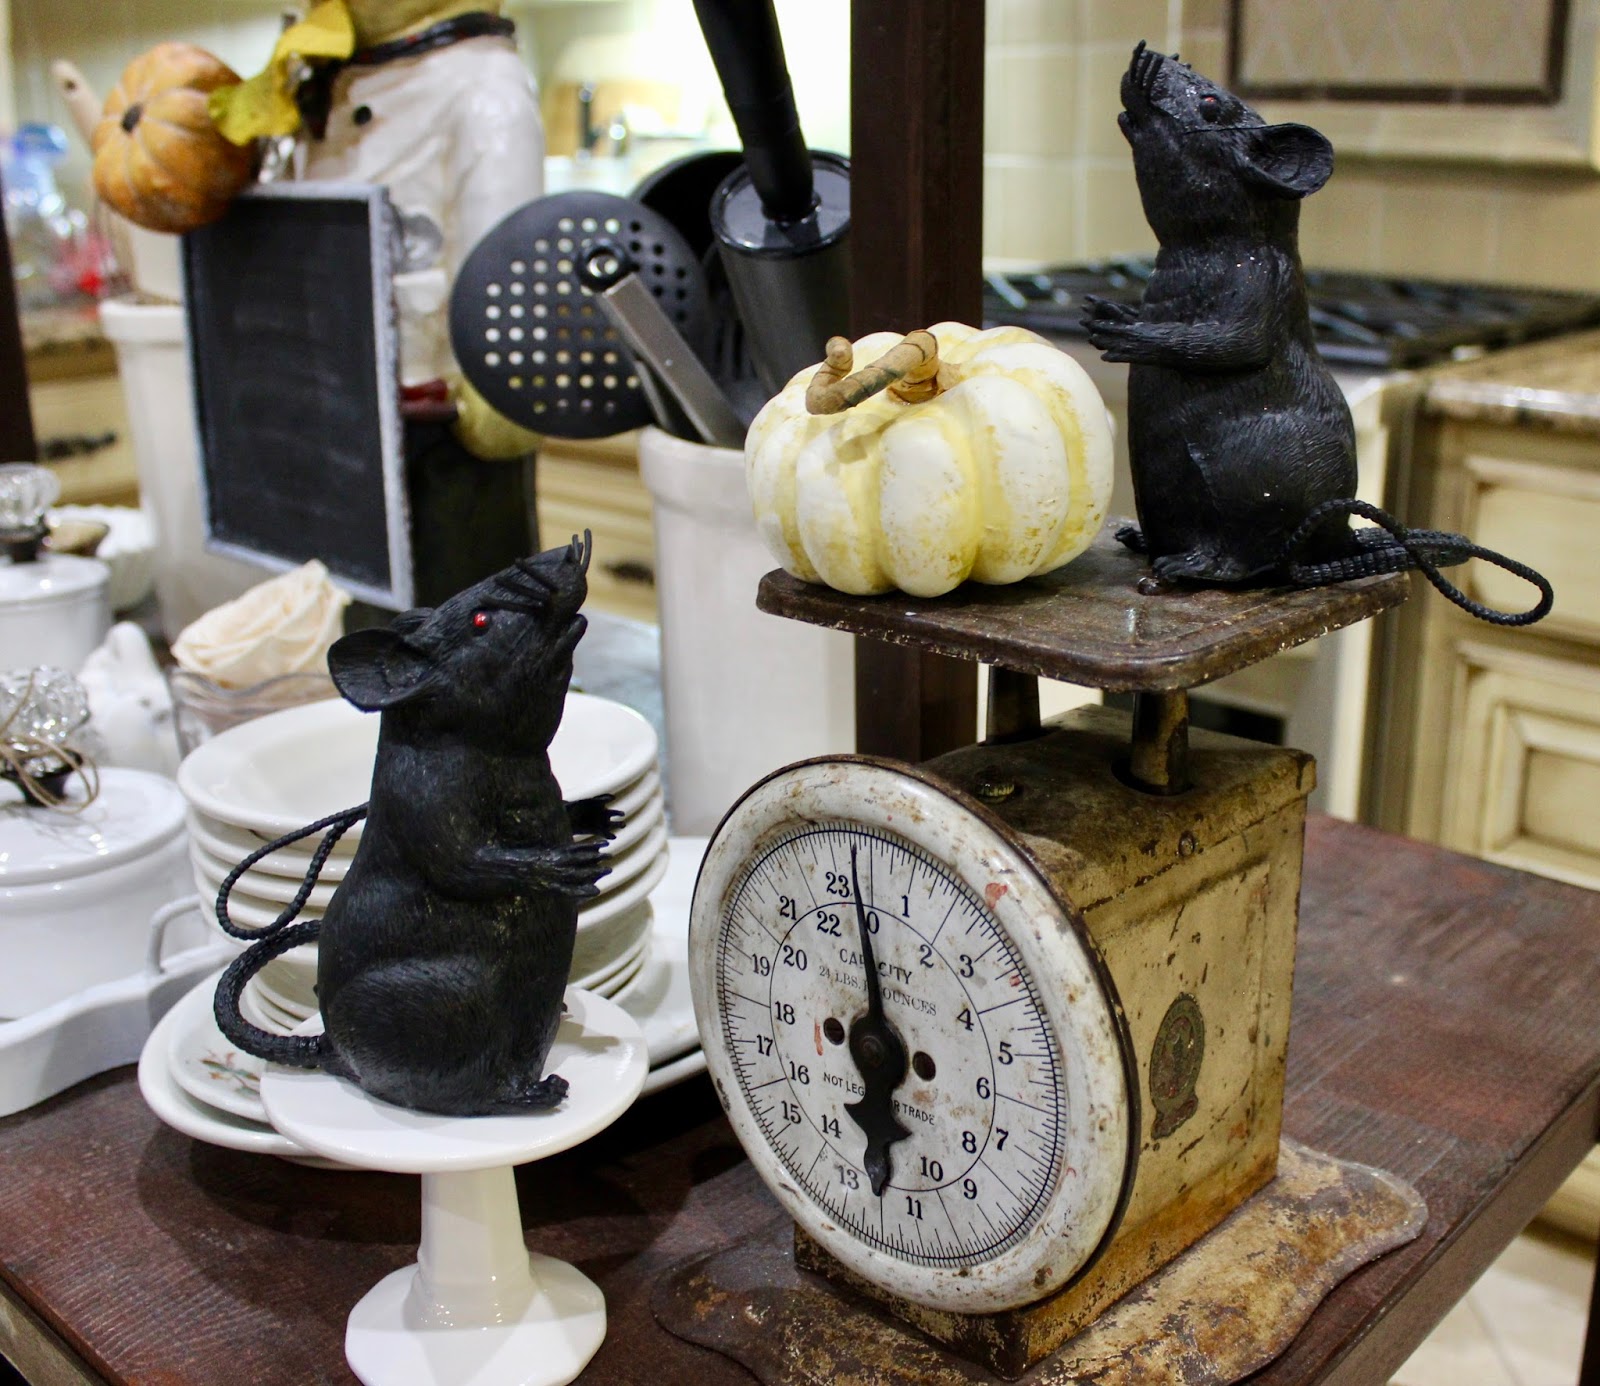
My favorite Halloween purchases today are these two mice. I figured the scariest place for mice would be in the kitchen, right?
I know it would really creep me out to have real mice in there!


The quality of the mice (rats?) is not very good as their little whiskers stick oddly out. I think they would appear more realistic if they were up on a shelf, farther away, instead of close up like this. 


But I thought this little vignette was cute, so I decided to go to one of the seasonal Halloween stores tomorrow and buy some better quality mice to take their place. 


Meanwhile these two will continue to frolic on the kitchen cart until I can replace them.


Did you notice the little white stand this mouse is standing on? A few weeks back I bought a couple of these little stands for $1 each (at the bargain isle) in our local Target store.


Until 3 or 4 years ago, I had never been to a Dollar Tree store! I had been to other "dollar stores" and found most of their prices to be in the $1.99 to $2.99 range. 

On my first trip to Dollar Tree, I got madder and madder until I finally started to walk out of the store empty-handed...in a huff...and, as I passed a clerk in the isle, I loudly complained that there were no prices on any of their products! 

You can bet my face turned red with embarrassment when the kind clerk whispered to me, "Hon...everything is a dollar!"  


But even that is not exactly true. I buy all my greeting cards at Dollar Tree and most of the kid's cards are "2 for $1" -- so that's just 50 cents a piece!


If you've managed to stay with my post this long, I thank you! I'll be back to show you the spooky photos I bought today too.

Dollar Tree Purchases: Six Halloween cards for 50 cents each; Two black mice $1 each.


Thanks for dropping by!


Join Me Here: Amaze Me Monday blog party


Thursday, October 19, 2017

Halloween Decor And Dollar Tree Tip


Halloween is closing in fast! The only Halloween decor I've managed to deck the house with are these crows up above the window trim.


Things are looking a little bare in here as I'm still (avoiding) working on this room.


Somewhere there's a box of Halloween decorations hiding in my garage or one of the closets. The box must be where the scarecrow is hiding as I haven't found him yet.

It doesn't seem like Halloween is near without the Scarecrow hanging out.


Here's some pictures of the scarecrow from Halloweens past.


I happened upon a new-to-me blog called "Saturdays Vintage Finds."

Besides lots of drool-worthy painted furniture, I found a post on these adorable "scary framed photos" and was surprised to find the photos were put together from things bought at Dollar Tree. 


Click on over to Saturdays Vintage Finds and check out how those adorable scary photos were put together. 


Thanks for dropping by!


Sunday, October 8, 2017

A Little Fall Decorating (Key Word Little)


Last fall, in the post Kopycat Fall Candle, I added fall leaves to my glass candles by copying a magazine picture. Yeah...I know. It was pretty simple and I should've thought of it myself.


I kind of like my rendition better than theirs. Here's the magazine's photo:


Country Sample Magazine Autumn 2016

Well, the other day I was trying to add some fall zing around the house and discovered there isn't much you can't "zing up" with a few fall leaves!


I stuck them in my chalkboards and found that sometimes too many is too many! After I stuck them under the bottom of the clock, I added some to the top too.


See what I mean? New decorating rule to write down: Sometimes Too Many Is Too Many!


And sometimes too many can be just right. The little pumpkins looked pretty bare before I overwhelmed them with leaves...


Adding a pile of leaves and a few more pumpkins makes the plain chalkboard look a little more cheerful! Sorry for the shadows, but I had to run over and take a picture for you even though it's night here.


So that's a little fall decorating here. Safety Tip: If you add leaves to your candle holders, be sure to use battery operated candles that won't set the leaves on fire! 


Thanks for dropping by!


Join Me Here:
Amaze Me Monday at Dwellings


Monday, August 21, 2017

Stainless Steel Cleaner That Works


If you've tried stainless steel cleaners without any success, I have another one you might try. Sear Kenmore's Stainless Steel Cleaner.
I had given up on this sink and wanted to replace it. The metal ring was all rusted and it was terribly dull before. The lighting makes it look dull in the bottom right, but I promise it shines like the top section.
When we replaced our dishwasher and garbage disposal recently, I asked our plumber about replacing the sink. 

He said it was in fine shape and just needed the ring replaced. He did it in just minutes for about $17 for the part. Vast improvement!

And then when he installed the Kenmore dishwasher, there was a small packet of Kenmore's stainless steel cleaner in the information package, so I tried it. Wow! 
This is my torn packet with the top ripped off. If I had had any hope of this actually working before I tried it, I would've taken a nice "before" picture!

Sorry, but that's all I've got to show as I've used this little packet for quite some time and keep forgetting to buy a bottle. It only takes a tiny bit of it to get that shine.


Of course I used it everywhere! This almost 7 year-old refrigerator shines better than new. 
If I stand beside it the light reflects like crazy!
So that's the end of my quest to find the perfect stainless cleaner. As always, this is my true opinion of this product. I never receive any compensation for my endorsements.

With Sears in limbo (for non-USA friends, they're closing some stores and selling off their Kenmore brand), I'm going to buy enough to last for years just in case.


Thanks for dropping by!

Join the party here:
Amaze Me Monday at Dwellings
Tutorials and Tips Party at Home Stories A to Z


Monday, July 24, 2017

Faded Roses Preserved Forever


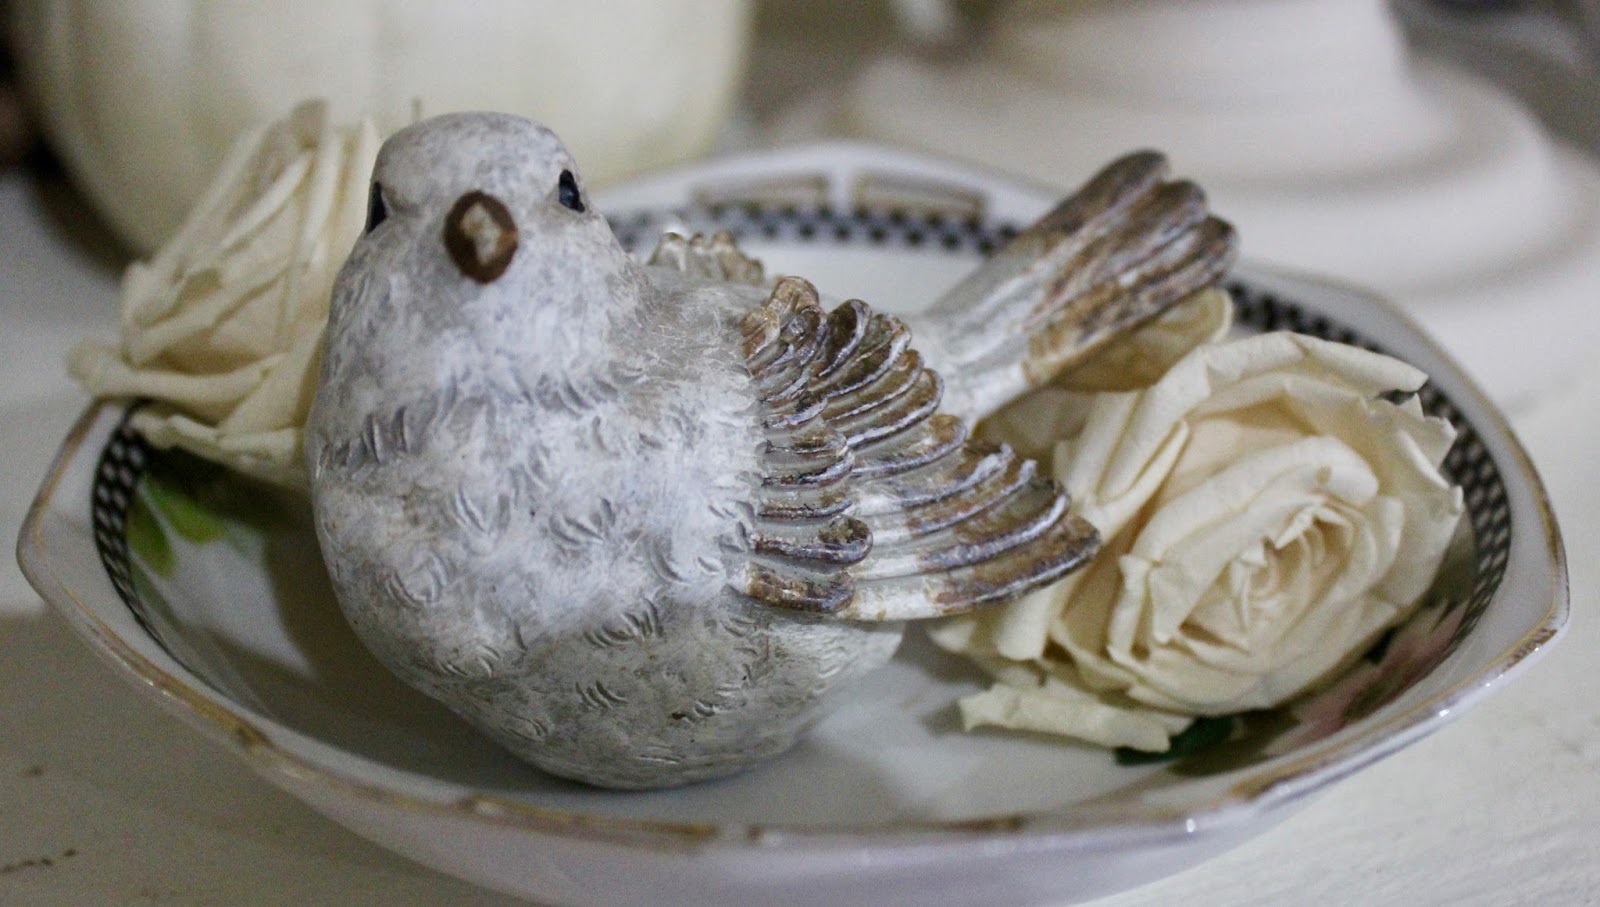
These roses were alive at one time, but have been preserved somehow...How? I have no idea!
I don't have a clue how they preserved them, but I do love them. They come in handy when I need something to pretty up a random space.

There's only one place nearby that sells the roses. Every time I visit the little town of McKinney Texas, I try to stop by a shop called My Favorite Room and buy one or two of the roses. 

 The excuse to stop by the shop gives me a chance to look around and take in all the inspiration there! Everything is painted in creamy shades or gray or white. I love it all!
My Favorite Room carries a large collection of antique and vintage cupboards and chandeliers, and also a lot of upscale furnishings.

All the antiques and vintage pieces are way out of my budget, but I love to soak in the sight of the old furniture pieces inside the store -- and the wonderful plants blooming outside!


Here's a few more of the roses (from My Favorite Room) sprinkled around the cabinet in the breakfast room. 


This one lives in an old glass creamer passed down from Wild Bill's family...
Here's one sharing a gravy boat with a mini faux pumpkin. The little pumpkins are one of my obsessions too!
I'll leave you with this last picture of one of the roses. This one sits in a bird's nest in the kitchen on top of the cup rack. 


Thanks for dropping by!