Showing posts with label Amaze Me Monday blog party. Show all posts

Friday, August 24, 2018

Copy-Katting Penny's Darling Tiered Tray


Browsing the web for inspiration recently, Penny's 3-Tiered Tray stuck me as oh-so-adorable!


I had all the stuff to make a copycat of the tray except for the cute white enamel farm animal ornaments. 

Lucky for me and you, Penny was kind enough to let us in on her secret supplier...Hobby Lobby in the Christmas section!

Now I've been downsizing like crazy...but what's a girl to do? 

Of course I've been to Hobby Lobby's Christmas section hunting down those dang little farm animals! Our local Hobby Lobby doesn't have them so I'll look for them in other locations.

A few weeks back I found the link to Penny's Post on the Amaze Me Monday blog party at Dwellings-The Heart of Your Home. If you're in need of a little inspiration, hop over to either of these blogs.


Thanks for dropping by!


Monday, June 4, 2018

Plants And Flowers Around Town


When we're out and about in Texas, I love to look for garden inspiration in and around the towns we visit.


Around McKinney Texas today lovely flower pots are in bloom...


Most shops have pots full of plants and flowers, but some have flowers planted down in the sidewalk dividers too.


A few years back, one of the shopping centers even created a Long Horn topiary to add some greenery to a bedding area...


The shop called My Favorite Room is one of my favorite stops, not only for the wonderful furniture they sell, but for their potted garden in front of the shop.


 The entry to the shop is on the north side of the building and gets less of the hot summer sun than a west side exposure would get. 

I try to remember that when I want to duplicate their look. When we first bought our house, the builder had planted evergreen trees like the ones potted in these pictures of My Favorite Room's entry.


The evergreens our builder planted were on the east..and sort of south...side of our house (where our entryway is) and that summer was terribly hot. We had lots of days with temperatures over 100 degrees, and those poor trees did not last at all!


I'll take the cue from this shop and maybe try planting some of these type trees on the north side of the house in the future. 

When you're not a good gardener, but love the look, I've finally learned it's best to study and copy the ideas of others who do it better. 

If you are looking for ideas for your garden too, come join the party at Everyday Living's Garden Party here.


Thanks for dropping by!


Monday, October 2, 2017

Thrift Shopped Rabbits


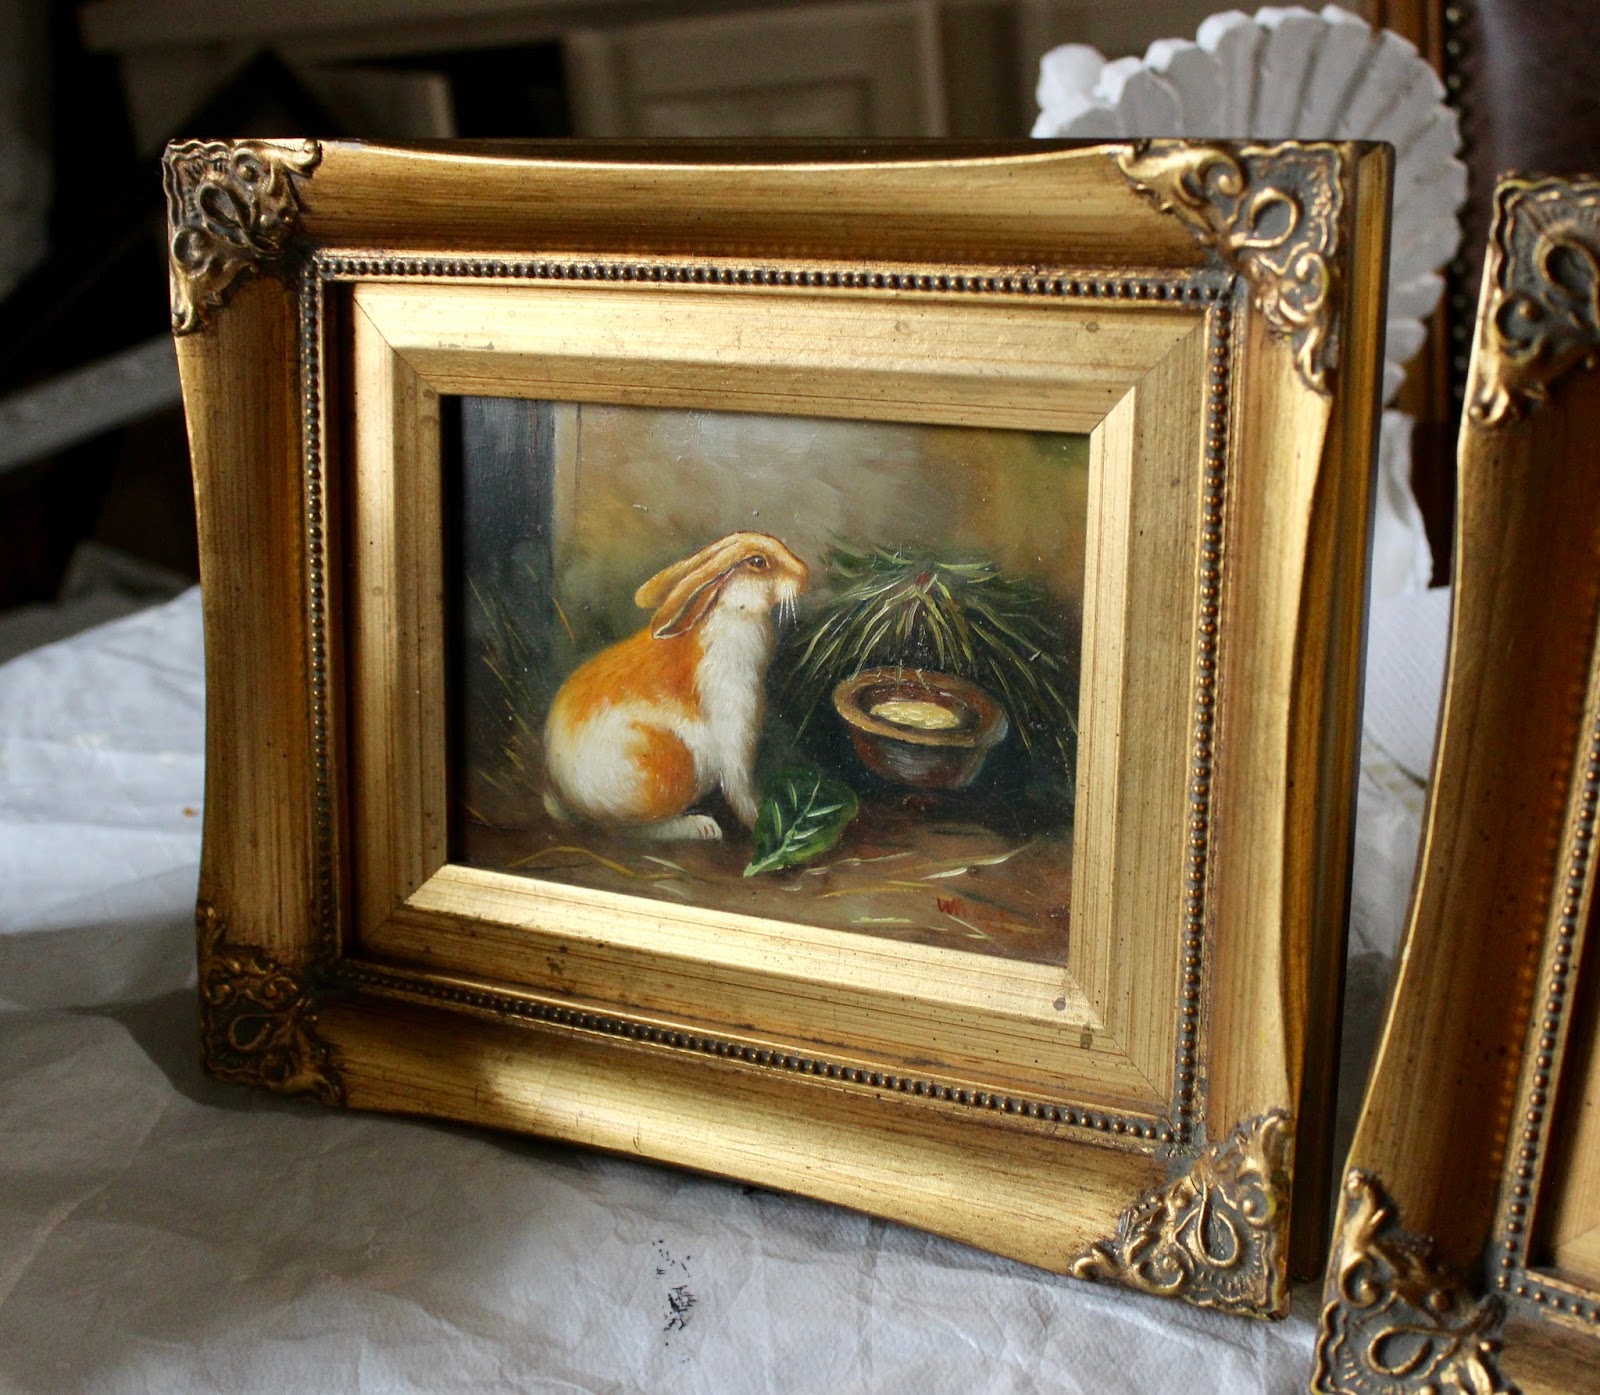
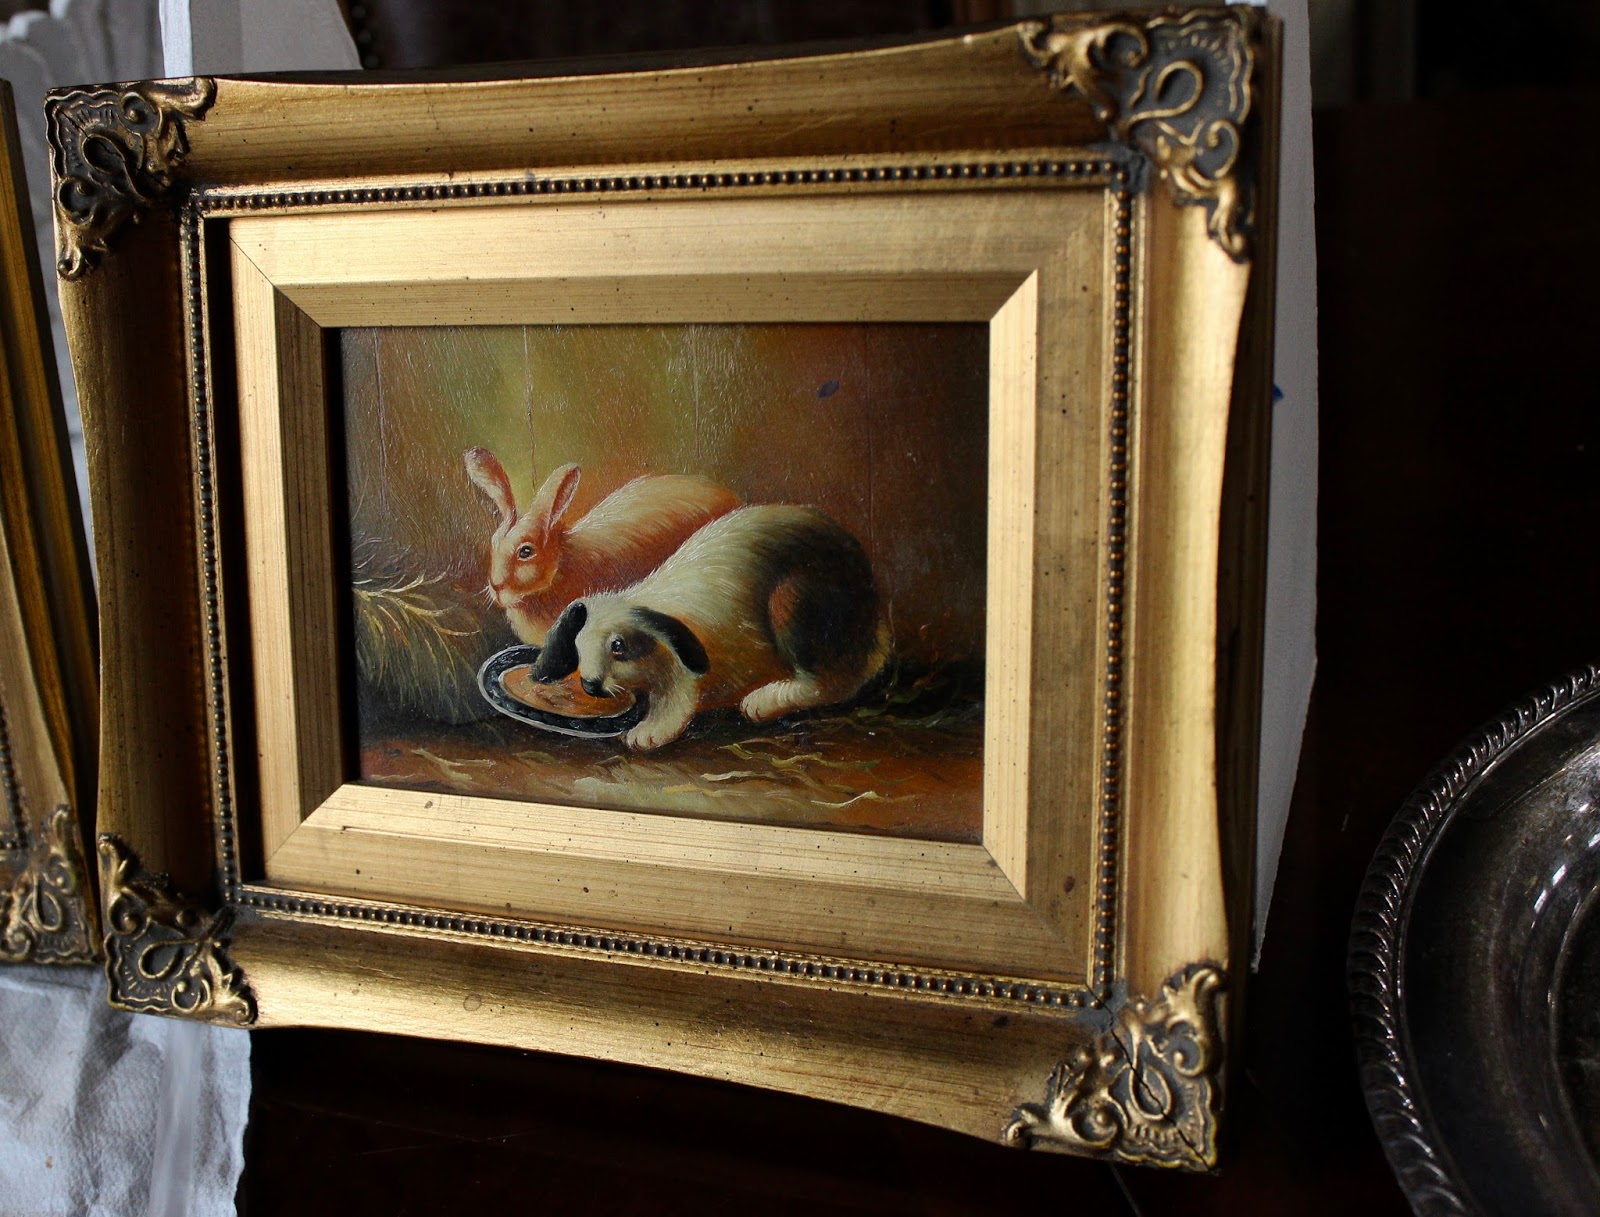
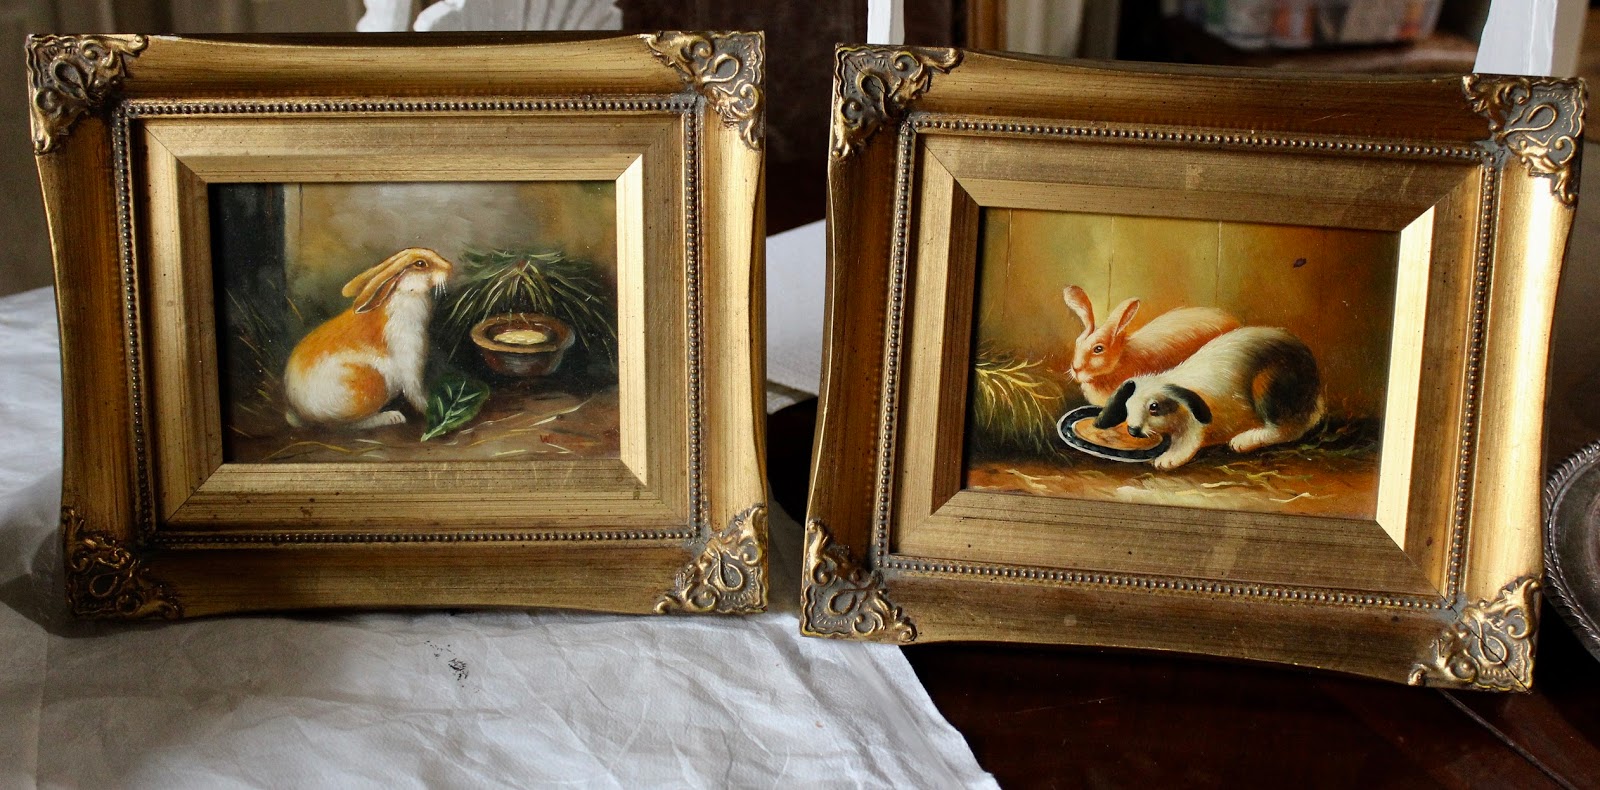
These two small rabbit pictures came home with me from a local thrift shop the other day. I paid a whopping $10 for each one!


I was awed by the form of their pretty frames, thinking I would add some dark wax to them to tone down the gold a little.


The lone rabbit in the left picture I thought was particularly cute. 


Of course for $10 I accepted the fact the value was in the frames and not what I thought were reproduction prints.


The two check-out ladies were admiring the pieces of art and expressed sadness they hadn't seen them first since they were so cheap!


I didn't bother to tell them the trick is to look high and low when you're out thrift shopping. If I have time, I even walk the shop left to right and then turn around and walk it right to left. Wait...What?Obsessive? Probably so!

When I got home, I noticed a slight chip on one of the frames. I'm sure it happened after I bought it due to carelessness on my part...


I was careless because I wasn't too concerned about how the pictures were wrapped since I was planning on making the frames my next paint/wax victims. 


Wild Bill hates thrift shopping so he sits in the pickup outside and reads a book. On this hot day, he was parked up the street, and when he saw me he drove down to pick me up in a kind of Bonnie and Clyde escape.

I barely had time to throw my purchase in the back seat and jump in the truck before he was on his way!

Imagine my surprise when I got the pictures home and turned to the backs and read the tags that said they were Hand Painted by Robert Grace: 


I went on the internet to look up the artist, Robert Grace. It dawned on me I already have a larger print copy of a different one of his rabbit paintings, but that's for another day.


One of the exact rabbit paintings, with same frame, is currently for sale with a bid of $70.  Man...I done good on these two!!!


Thanks for dropping by!


Join Me Here:

Amaze Me Monday


Wednesday, July 12, 2017

Hand-Scraped Wood Floors, 5 Years Later


Reading today about another blogger's dilemma over replacing her old wood floors (here) reminded me of when we were in the same situation back in November 2012. 
On New Year's Eve Day 2010, we bought a brand new house that wasn't quite finished. The builder had decided not to put the wood floors in that he had planned, but dropped the price by $30,000 That's when we said sold!
We lived with ugly, half-assed stained cement floors for almost 2 years before we found exactly the wood floors we wanted. Here's what the ugly concrete floors looked like...


Our wood floors are hand-scraped and stained a medium dark color,  a sort of chestnut, but has a lot of variation in it. It took 5 days for 4 guys to complete the job from start to finish. 
The bare wood sat in our house for a few days to acclimate to the house conditions. This stack was in our breakfast room.
The bare wood was laid down in the great room (where I'm standing taking the photo), dining room (the room to the right), office nook (the hallway to the left leads down to it), entryway and other hallways before being hand-finished...

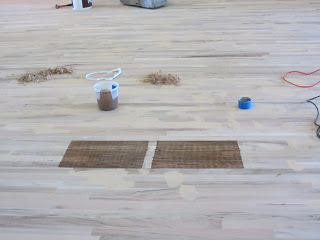
The wood guys did a sample for us. They hand-scraped the wood in two variations. The left is lightly scraped, the right is scraped a lot more. We chose the right, highly scraped one. The stain, on both samples, is exactly the same...

Next the hand-scraping started and went on and on...
The wood guys covered all the granite and vacuumed a lot to keep any dust down. We had already put travertine tiles in the kitchen, bathrooms, and laundry room. 

Sorry for the awful pictures. I took these back in 2012 with a point and shoot camera and all the lights were blaring to provide light for the work going on.
Stain went on in several different layers--stain, sand, stain, sand. This was probably taken about halfway through the staining as the finished stain is a lot darker.

This picture shows off the hand-scraping, but the color is a lot redder looking than it actually is...
Here's a more accurate depiction of the floor colors. I love the variation of the wood and stain...
We absolutely love the rough hand-scraping and would do it all over again! The only thing we would change is that we would have continued the wood floors into the master bedroom instead of putting carpeting in there.

In fact, we plan to replace the bedroom carpet with the same wood flooring as soon as that carpeting wears out. 

The wood floors were really reasonably priced. The price difference between putting in the hand-scraped wood floors in the master bedroom, or the high-quality rug padding and carpeting we did put in, was only about $400. We should have gone for the wood in the bedroom!

We took our sweet time moving all our furniture back into the house. We really loved the expansive look of the house without the furniture hiding our new floors...
My biggest concern was cleaning wood floors. I had never had wood floors and knew that carpeting was easy...just vacuum it. But how do you clean wood floors? 

Well, after almost 5 years of wood floors, I can tell you we just vacuum them! We use the vacuum hose to go into the corners and along the baseboards. If something spills, we wipe it up. Unlike the carpets, spills don't stain our wood floors. 

If you're considering replacing your floors with wood in the future, I hope this post helps with your dilemma.


Thanks for dropping by!


Joining the party here:
Foodie Friday And Everything Else at Rattlebridge Farm
Vintage Charm Party at My Thrift Store Addiction
Friday Favorites at Under A Texas Sky


Sunday, July 9, 2017

Framing The Windows


A week ago Saturday, Stan-The-Trim-Man came and framed a few windows for us. Now we need to get them painted.

For 6 years now, I've wanted to frame our Plain Jane windows to match this trim on our front door. 
The door will get a new coat of paint too once we decide on a new (whiter) paint color for the trim. 

Here's one of the windows that has been bare for so long...
Before Stan-The-Trim-Man arrived, we moved all the furniture away from the windows to give him plenty of room to work. 

I inadvertently got a snap of a flag while trying to get a full-on picture of the window. I think this is the only "patriotic decor" picture I took of this year's Independence Day decorations!
This window has always seemed odd to me. It's a normal height window but, as you can see, it looks short and squat due to being right next to the 8 foot French doors. 

The other window Stan trimmed last week is on the opposite side of the house in the dining room.


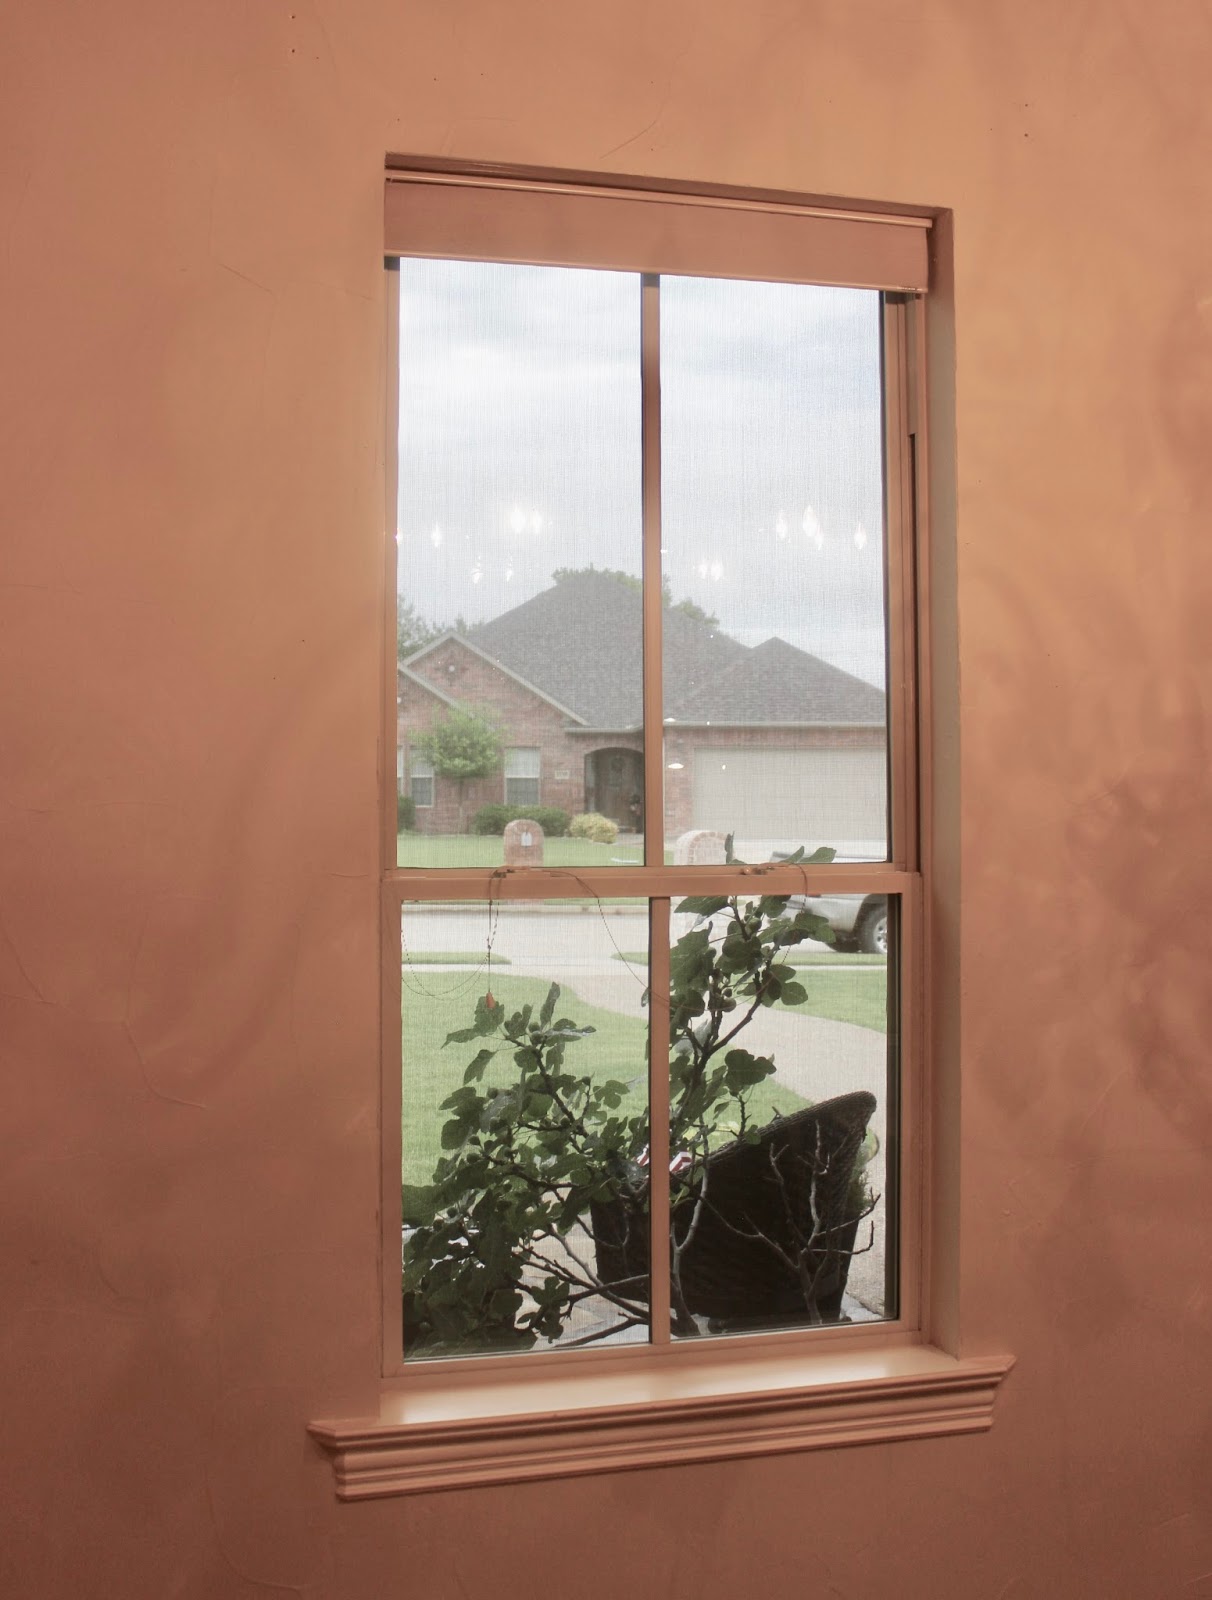
Here's that dining room window close-up. There is an apron on the bottom of all windows in the house, but the rest of the window is plain. 
Here in Texas, Plantation Shutters are popular and the builder had planned to add them throughout the house. 

We prefer Levelor insulated shades and regular framing on our windows, so we passed on the Plantation Shutters when we bought the house. 

Instead we added insulated shades to all our windows when we moved in and wrote down "window framing" on our wish list. Well...after 6 long years and many other projects, we were finally able to get that started!

Both windows were framed the same way. To start, a "1 by 4" was installed on each side of the window and trim was added to the outer edge of each board...
Next, each window got a flat board across the top, which was cut a little bit wider than the trim on each side. 

On the taller/narrower window (in the picture above) the top board was done with a "1 by 6" board.  

The top board on the shorter/wider window (in the picture below) was done with a "1 by 8" board. Why? Because we were trying to make this window look much higher than it was.

Both top boards were cut about 1 inch longer than the measurement of the width of the window and framing. 

Remember...we were trying to match the front door frame (see first picture for reference) and the board across the top sticks out a little past the side board and trim. By cutting the top board an extra inch longer, it allowed the top board to stick out by about a half inch on each side of the windows.
Crown molding was attached to the front and sides of the top board.  A veneer core plywood board was cut to sit on top of the crown molding so that it was a little larger on the side and front than the crown molding. 

The plywood board forms a shelf on top of the crown molding and, by being a little larger, it adds another layer to the crown molding. 

The final step was to add a piece of flat, one-inch molding around the outside of the plywood board as Stan is doing below. 


TA-DAH...We Have Window Frames!


We used "Paint Grade" poplar for everything except the veneer core plywood board on the very top that forms the shelf. 

Because the 1-inch molding was added to the outside of the plywood, on the three outer sides, the plywood doesn't show at all. 


Please forgive my crazy pictures. It was a raining overcast day and hard to take pictures without brightening them up, which plays heck with the colors. I hope to get better ones when the shelves and window are painted and ready for their formal debut.


Thanks for dropping by!


I'm joining the party over at:
Dwellings for  Amaze Me Monday
Rustic & Refined  Dishing And Digging It 
Mrs Olson's  Share Your Cup 
The Charm of Home's  Home Sweet Home party.  


Wednesday, July 5, 2017

In The Olden Days


Down in Salado, Texas there are a lot of old things to see. The town has a colorful history, and it isn't too "tourist-ized" yet, like many towns these days. 
This tree may be as old as the famous ones at the Alamo, maybe even older. 


Part of it was practically growing sideways last time we were there. 

It got some help when someone put a stump under some of its limbs, but that was decades ago. There's no way someone could lift that heavy limb now, it's as big as some big tree trunks!
There was once a water pump and a cement trough that stood beside the tree when it was younger.
It appears that was long ago though, when horses would stop by for a drink.
Maybe that was when the stagecoach -- or the covered wagon -- was the only means of transportation to and from other towns!
This wagon has sat in Salado for many years,  just down from the old tree. It seems as if the family just pulled up and jumped off, and forgot to come back... 


The covering is gone, but the ribs that held the cloth covering up are still there just waiting for the next adventure to come along.

It kind of reminds me of a pick-up truck. There's even a step-up on the old sideboard, just like the ones we have now. 

I wonder if the pioneer menfolk talked about "horsepower" when they got together, like our car guys do now?
I think the pioneers were one tough breed of people, no matter where they came from. Times were harsh, but it appears the ride in the back was a little harsher! Just look at those boards...


There's no stagecoach left in Salado, except this replica for kids sitting outside the old Stagecoach Inn.
If the covered wagon was the pick-up truck of its day, then it appears the stagecoach was the true mini-van or SUV (sports utility vehicle) back then. 
Can you imagine cramming in beside the other passengers on a hot steamy August day?

The stagecoach used to let people off in front of the Inn so they could have a meal while the horses were changed out for fresh ones. 
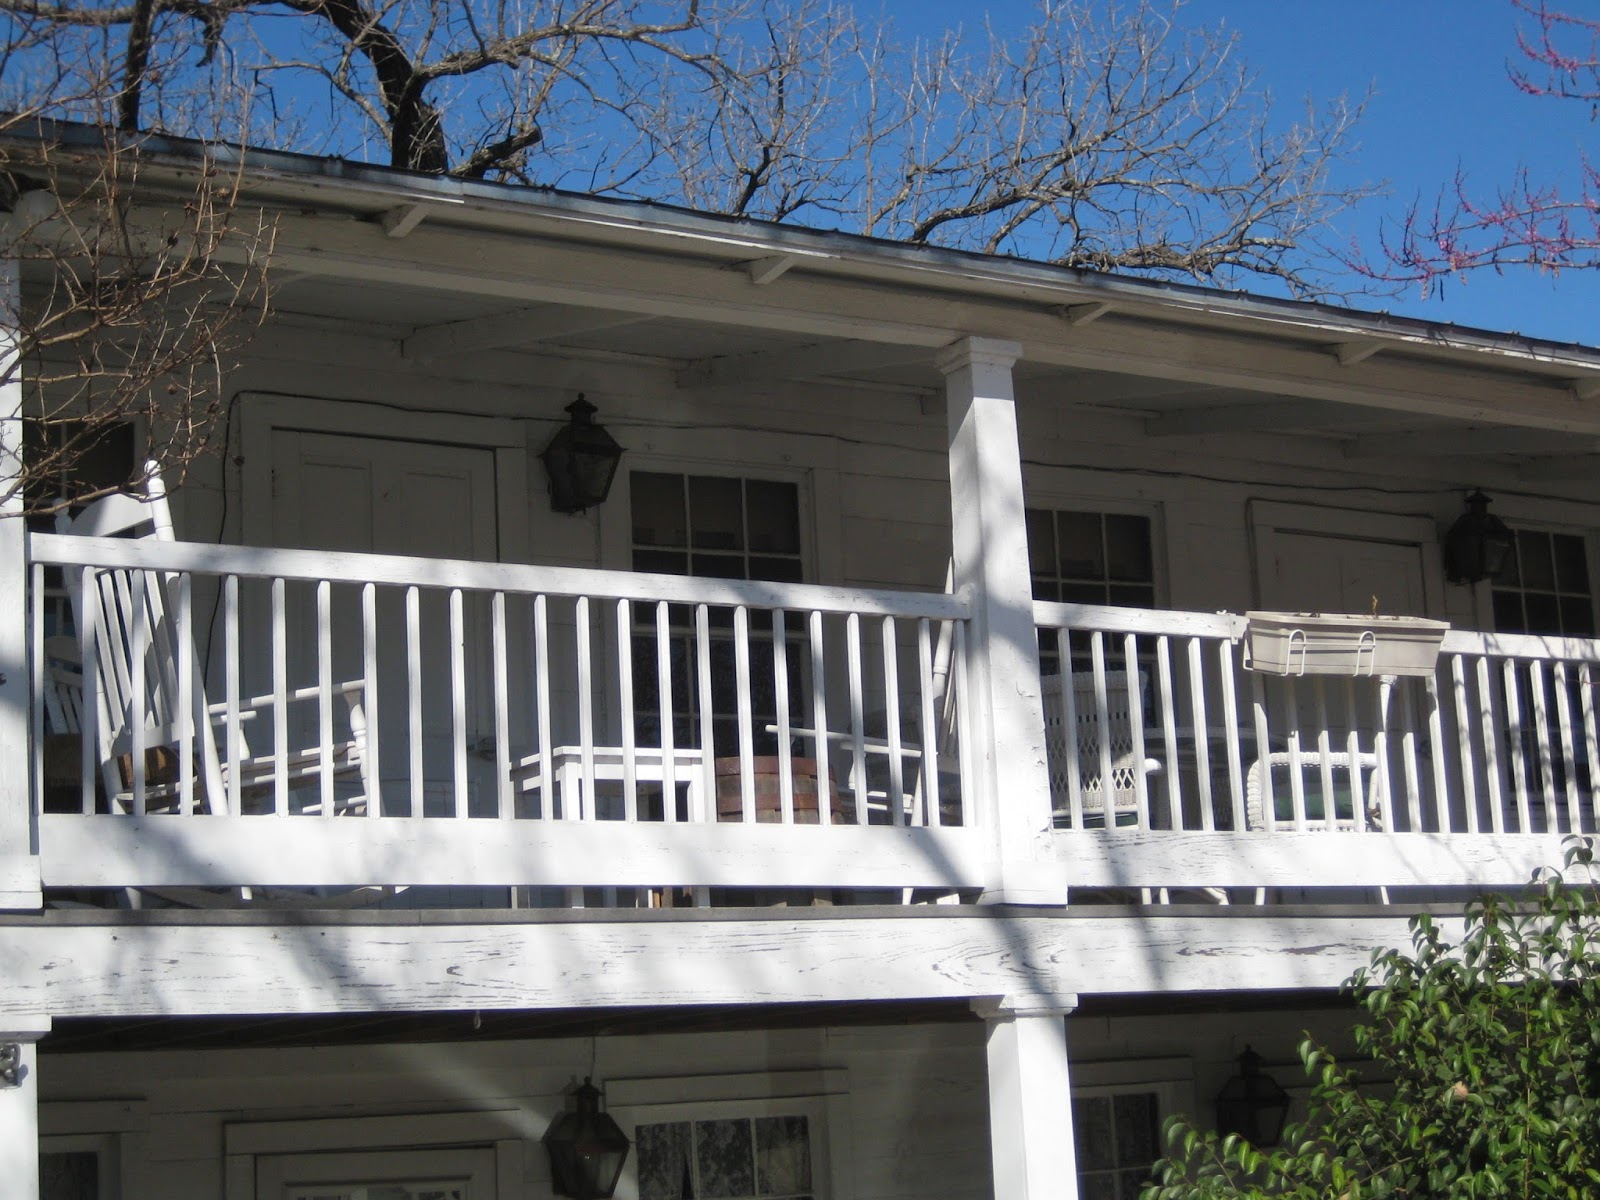
There were rooms available upstairs for the night back then, now there is a modern hotel wing behind the old structure. 
The upstairs was still used for a bar, The Stagecoach Club, when we were there, and the dining room had been greatly expanded. If you chose to go to the bar back then, let me warn you, the stairs were narrow and steep just like in the olden days!
 If the restaurant was full, there were plenty of rockers to sit a spell and wait for your party to be called. 
Let me assure you, the meal was worth the wait! Not only was the food good, the experience was unique. Back in the stagecoach days, the routes were sporadic and a wagon wheel break might delay the stage. 

The Inn only needed the waitstaff when the customers were there, so a system was developed around when the stagecoach arrived. 
When we were there a few years ago, a version of how the restaurant operated back then was still in play. There was NO written menu for the guests.

Note: The ladies in olden times were local housewives who came to do a shift when they heard the stagecoach coming through the town. 

When we were there lunch was a fabulous four-course meal. The ladies came to your table with an appetizer and told you what was available for each course. 

There was tremendous variety of food being served, and it was all delicious.  It was also very fun! But it looks like things might have changed since a renovation was done, so you might want to check their website if you're thinking about going any time in the future.


Thanks for dropping by!