skip to main |
skip to sidebar
Five On Friday: The Latest Victim
Welcome to another Five On Friday! Can't believe how fast the weeks go by. I have been torturing this poor old galvanized tub for far too long! I'm just glad it's over (maybe). Here's the history of it...
1. Plain Jane Start...The tub started out a plain galvanized tub with stains inside, bought at a garage sale long ago. This is the only "before" picture I could find.
2. Hide The Stains...One day, I got the idea to use the tub as a magazine or book holder. The first thing I did was paint the stained inside of the tub. I wrote about this step here.
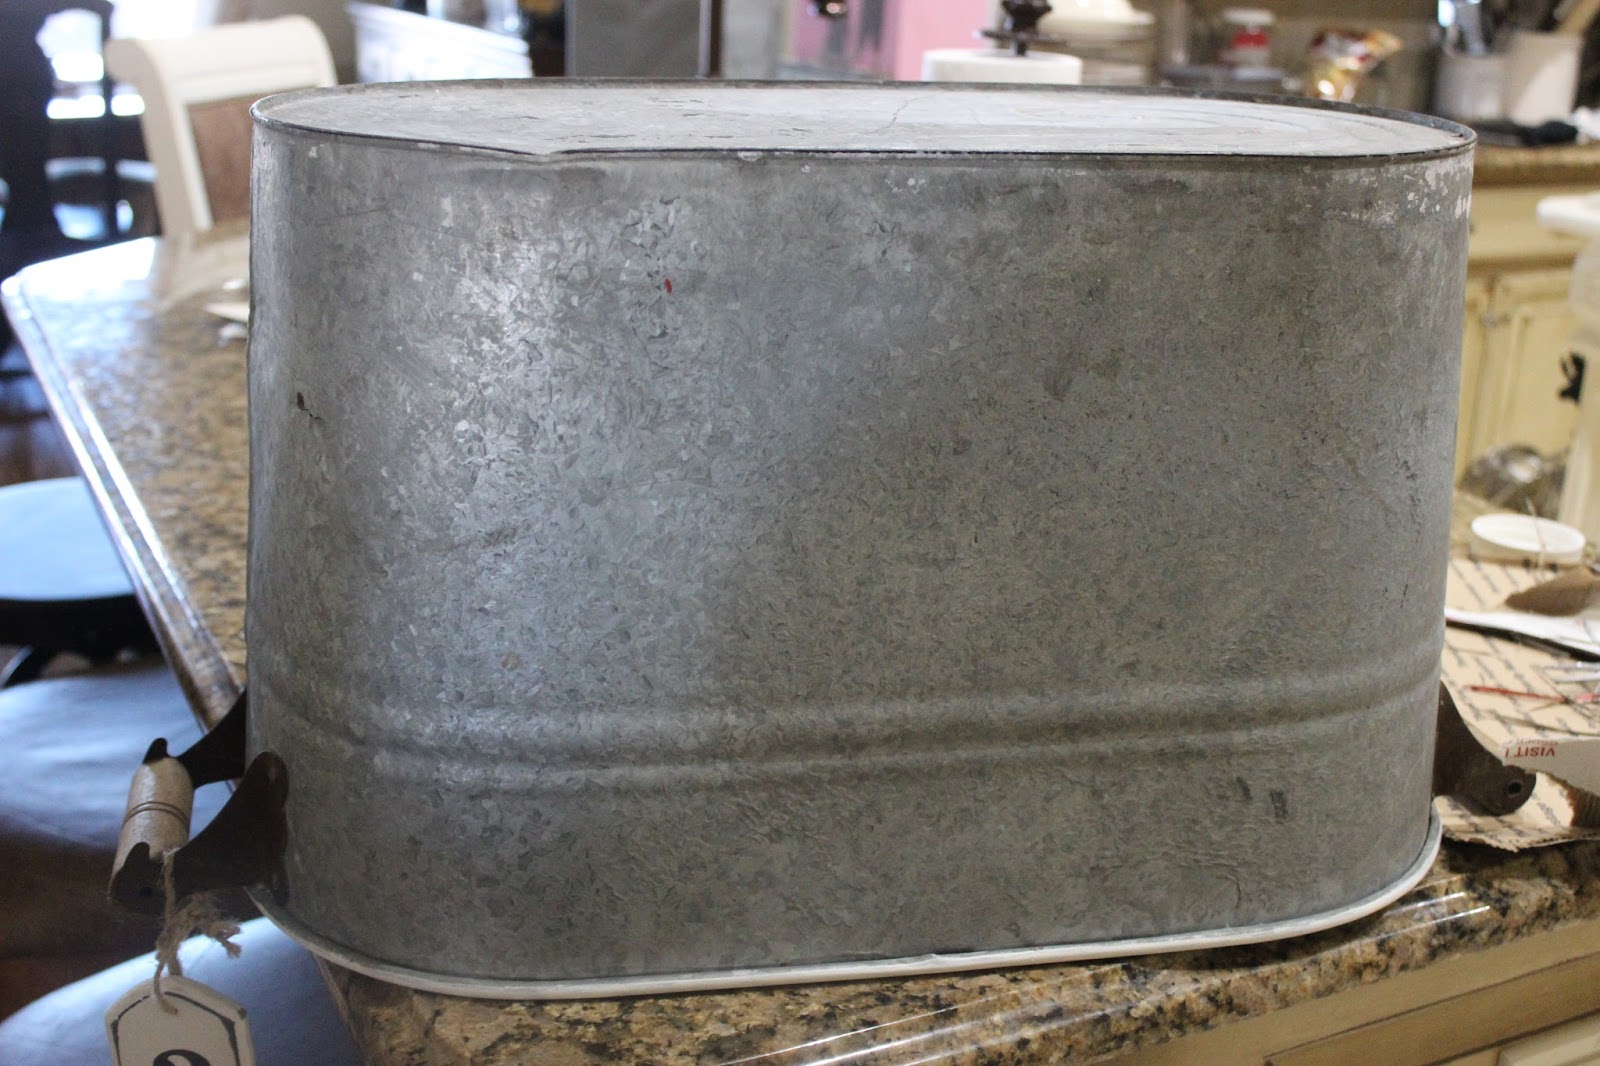
3. Let's Roll...I decided to add wheels since our floors are wood. That entailed making a sort of skateboard for the tub to ride on.
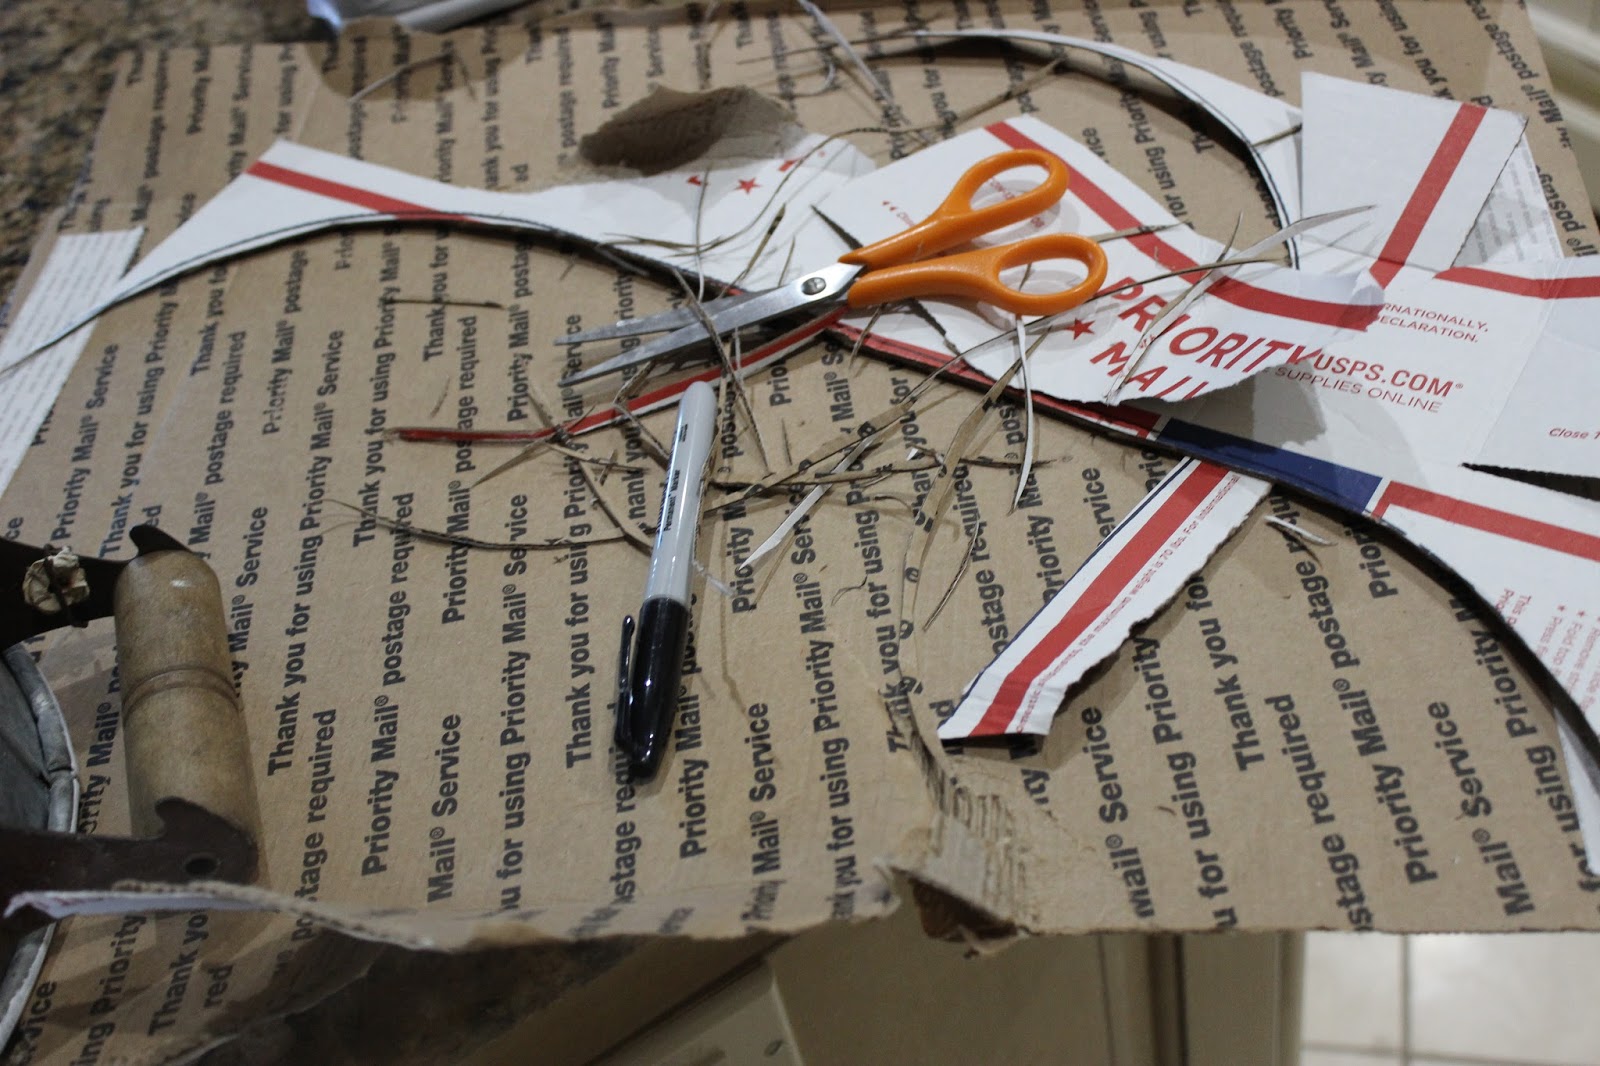
I turned it upside down and measured and cut repeatedly using an old cardboard box that was mailed to us.
I wrote "this side up" and drew arrows to remind myself of which way it fit. Wild Bill held it for me while I took pictures. Notice he still had that black thumb from an ouch-y accident last December when he learned you can't screw something through your finger without causing pain.
He used my cardboard pattern to cut this sturdy wood oval, which I painted black at first. Didn't like the black...so then I painted it white.
I love chalk paint because white can cover even black colors in just a few strokes.
4. Why Not Stencil? All was good until the tub started looking a little plain. I bought a stencil a while back, but not a stenciling brush. One night when I just couldn't stop myself, I decided to use a regular foam brush to see if it would work.
It turned out OK from a distance, but I recommend a stenciling brush if you're going to stencil. PARIS turned out looking like PARTS, which is OK with me because it makes it more industrial looking, right?
I let the stencil paint dry for a week and didn't bother distressing it since it already looked distressed due to using the wrong brush. I'd like to say I planned it, but we all know that's a lie.
5. Wax Her Up...Last night I started wondering what a little wax would do for the tub. I used Miss Mustard Seed's clear wax and gave the whole thing a coating. I love that brand of clear wax!
Once the clear wax was a little dry, I put on some dark aging wax. Miss Mustard Seed's dark wax wasn't dark enough for me, so I used Amy Howard's dark wax, which worked better.
Even the wood handles and rusty holder got some of the clear and dark wax...
A little of Amy Howard's dark wax goes a long way. Wipe it on, let it sit a little, wipe it off. I used a rag to put it on and an old sock to take it off.
So here we are today. I won't say I'm completely done, but in its current state I can think of a lot of uses for it next to the chair...a winter throw, pillows, books and/or magazines...
Thanks for dropping by!


.jpeg)


Your so clever. I admire anyone who can upcycle something old and give it a new lease of life. I love this and its so versatile
ReplyDeleteI'd say you've given your "poor old galvanized tub" a beautiful new life! Well done!
ReplyDeleteThat is darling. I love the wheels on it. Great idea.
ReplyDeleteThe wheels are brilliant!
ReplyDeleteI can see that the wax made a big difference to the look of the stencil and the body of the tub. Well done!
Love the wheels! Very practical!
ReplyDeleteWhat a fantastic transformation and repurposing of a great tub! Love it all!
ReplyDeleteThanks so much for sharing!
Now following your lovely blog!
You have great patience and skill, the tub looks wonderful, especially with the soft blanket in it and so easy to move on those wonderful wheels:)
ReplyDeleteAmazing, a wonderful makeover.
ReplyDeleteWonderful! It looks great and will no doubt be very useful.
ReplyDeleteIt turned out fantastic! I love the way the whites all coordinate; from the inside, stencil and bottom. It's really a lovely piece. Enjoy your day, Pat
ReplyDeleteThis is brilliant! I've never heard of those waxes and wouldn't have thought of waxing that. I need to follow you. I have a lot to learn!
ReplyDeleteLaura of Harvest Lane Cottage
Love it!! Would use it to store my crochet stuff in.
ReplyDeleteThis is the finest galvanised tub I have seen in a long time. Have a lovely weekend.
ReplyDeletelooking good
ReplyDeleteBrilliant! It looks super.
ReplyDeleteSo creative! I just love your wheels and how you made it all work. Perfect for lots of things.
ReplyDeleteRivercrest Cottage,
ReplyDeleteI l o v e your tub, dear friend!
Thanks for sharing all the steps it's been through!
Fondly,
Pat
I think that tub is now PERFECT!
ReplyDelete:D :D :D
Oh my gosh I think I have a couple of those tubs in the potting shed getting spider webs in them. I might have to try something like this. It's beautiful! I'm visiting from Amy's Love Made My Home.
ReplyDeleteCindy Bee
What a great makeover, it is so very pretty! A great use for the container and a great new look for it too. Thank you too for joining Five On Friday. I hope that you have a great August and I look forward to seeing you again in September! xx
ReplyDeleteThis is delightful. Thanks for sharing with Five On Friday
ReplyDeleteI really love the wheels on it! You did a fantastic job with it!
ReplyDeleteThe wheels are great and I love the stencil! Thanks for sharing at Home Sweet Home!
ReplyDeleteHi your project turned out really cute , even if it's not finished.. Such a cute idea!!! I saw the photo on French Country Cottage. Love your post!!
ReplyDelete